How to control safe area insets in SwiftUI
 @zntfdr
Fresh out of WWDC21, safeAreaInset() is a brand new SwiftUI view modifier, which lets us define views that become part of the observed safe area. Let's take a deep dive into this new, powerful feature.
Scroll views
The most common safeAreaInset use case is probably going to be with scroll views.
Consider the following screen for example, where we have a ScrollView with some content and a button:
struct ContentView: View {
  var body: some View {
    ScrollView {
      ForEach(1..<30) { _ in
        Text("Five Stars")
          .font(.largeTitle)
      }
      .frame(maxWidth: .infinity)
    }
    .overlay(alignment: .bottom) {
      Button {
        ...
      } label: {
        Text("Continue")
          .frame(maxWidth: .infinity)
      }
      .buttonStyle(.bordered)
      .controlSize(.large)
      .controlProminence(.increased)
      .padding(.horizontal)
    }
  }
}
Note the new iOS 15
.buttonStyle(.bordered).controlSize(.large).controlProminence(.increased)view modifiers!
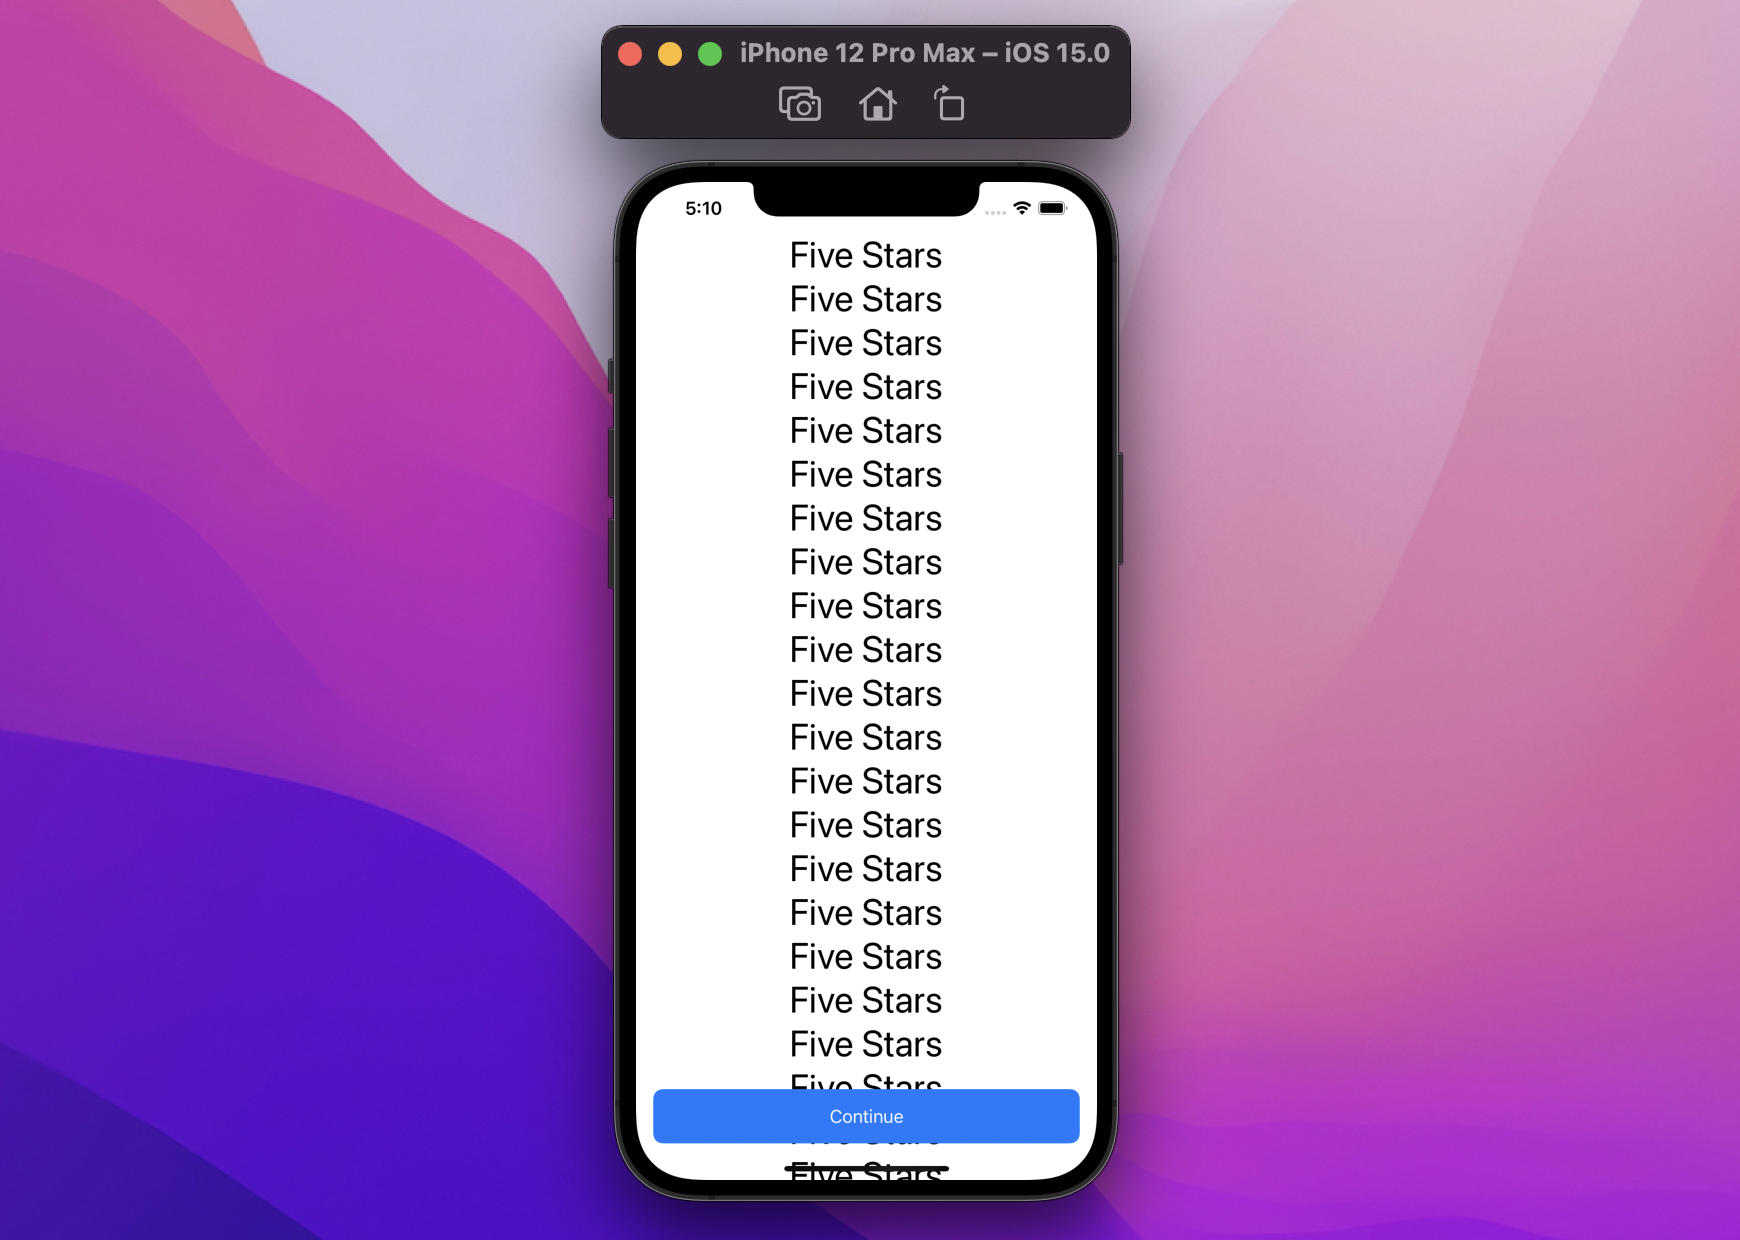
Because the button is just an overlay, the scroll view is not affected by it, which becomes a problem when we scroll at the bottom:

The last elements in the ScrollView are hidden under the button!
Let's now swap .overlay(alignment: .bottom) with .safeAreaInset(edge: .bottom):
struct ContentView: View {
  var body: some View {
    ScrollView {
      ForEach(1..<30) { _ in
        Text("Five Stars")
          .font(.largeTitle)
      }
      .frame(maxWidth: .infinity)
    }
    .safeAreaInset(edge: .bottom) { // 👈🏻
      Button {
        ...
      } label: {
        Text("Continue")
          .frame(maxWidth: .infinity)
      }
      .buttonStyle(.bordered)
      .controlSize(.large)
      .controlProminence(.increased)
      .padding(.horizontal)
    }
  }
}
...and voila'! ScrollView observes the new region passed down by safeAreaInset and our last elements are now visible:
Next, let's see how it works.
Definition
This modifier comes in two variants, one for each axis (horizontal/vertical):
/// Horizontal axis.
func safeAreaInset<V: View>(
  edge: HorizontalEdge,
  alignment: VerticalAlignment = .center,
  spacing: CGFloat? = nil,
  @ViewBuilder content: () -> V
) -> some View

/// Vertical axis.
func safeAreaInset<V: View>(
  edge: VerticalEdge,
  alignment: HorizontalAlignment = .center,
  spacing: CGFloat? = nil,
  @ViewBuilder content: () -> V
) -> some View
We have four parameters:
edge- where we specify which region edge we're targeting: either.topor.bottomfor the vertical variant, and.leadingor.trailingfor the horizontal onealignment- where we specify how oursafeAreaInsetcontent should align when it doesn't fit the available spacespacing- where we can further shift the safe area beyond the bounds of thesafeAreaInsetcontent, by default this parameter has a non-zero value, based on the platform convention we're targetingcontent- where we define oursafeAreaInsetcontent
Let's use it in practice to understand what this is all about.
Examples
By default SwiftUI places our content within the safe area, we will start with a LinearGradient which always takes all the available space:

struct ContentView: View {
  var body: some View {
    LinearGradient(
      colors: [.mint, .teal, .cyan, .indigo],
      startPoint: .leading,
      endPoint: .trailing
    )
  }
}
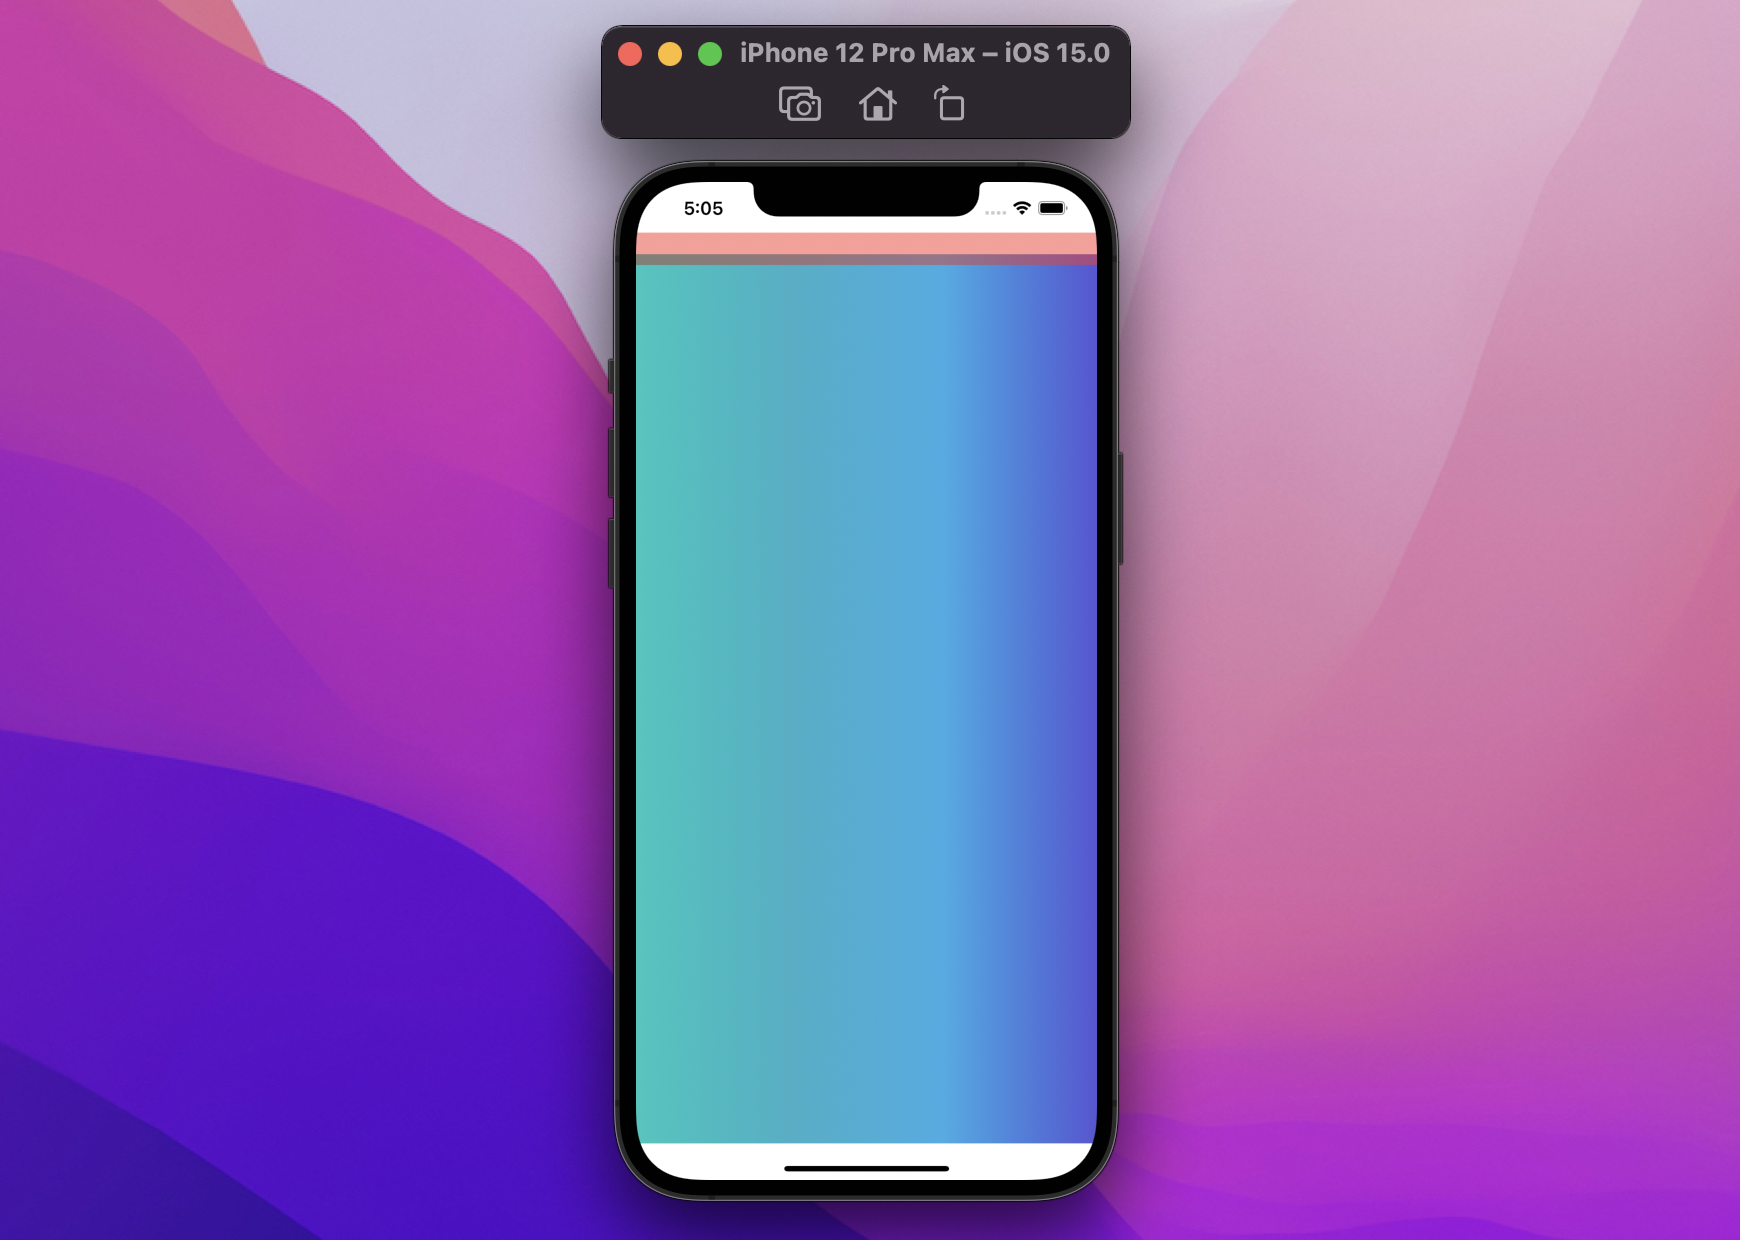
Let's say that we'd like to extend our top safe area, this is now possible thanks to the new safeAreaInset view modifier:

struct ContentView: View {
  var body: some View {
    LinearGradient(
      colors: [.mint, .teal, .cyan, .indigo],
      startPoint: .leading,
      endPoint: .trailing
    )
    .safeAreaInset(edge: .top, spacing: 0) {
      Color.red.frame(height: 30).opacity(0.5)
    }
  }
}
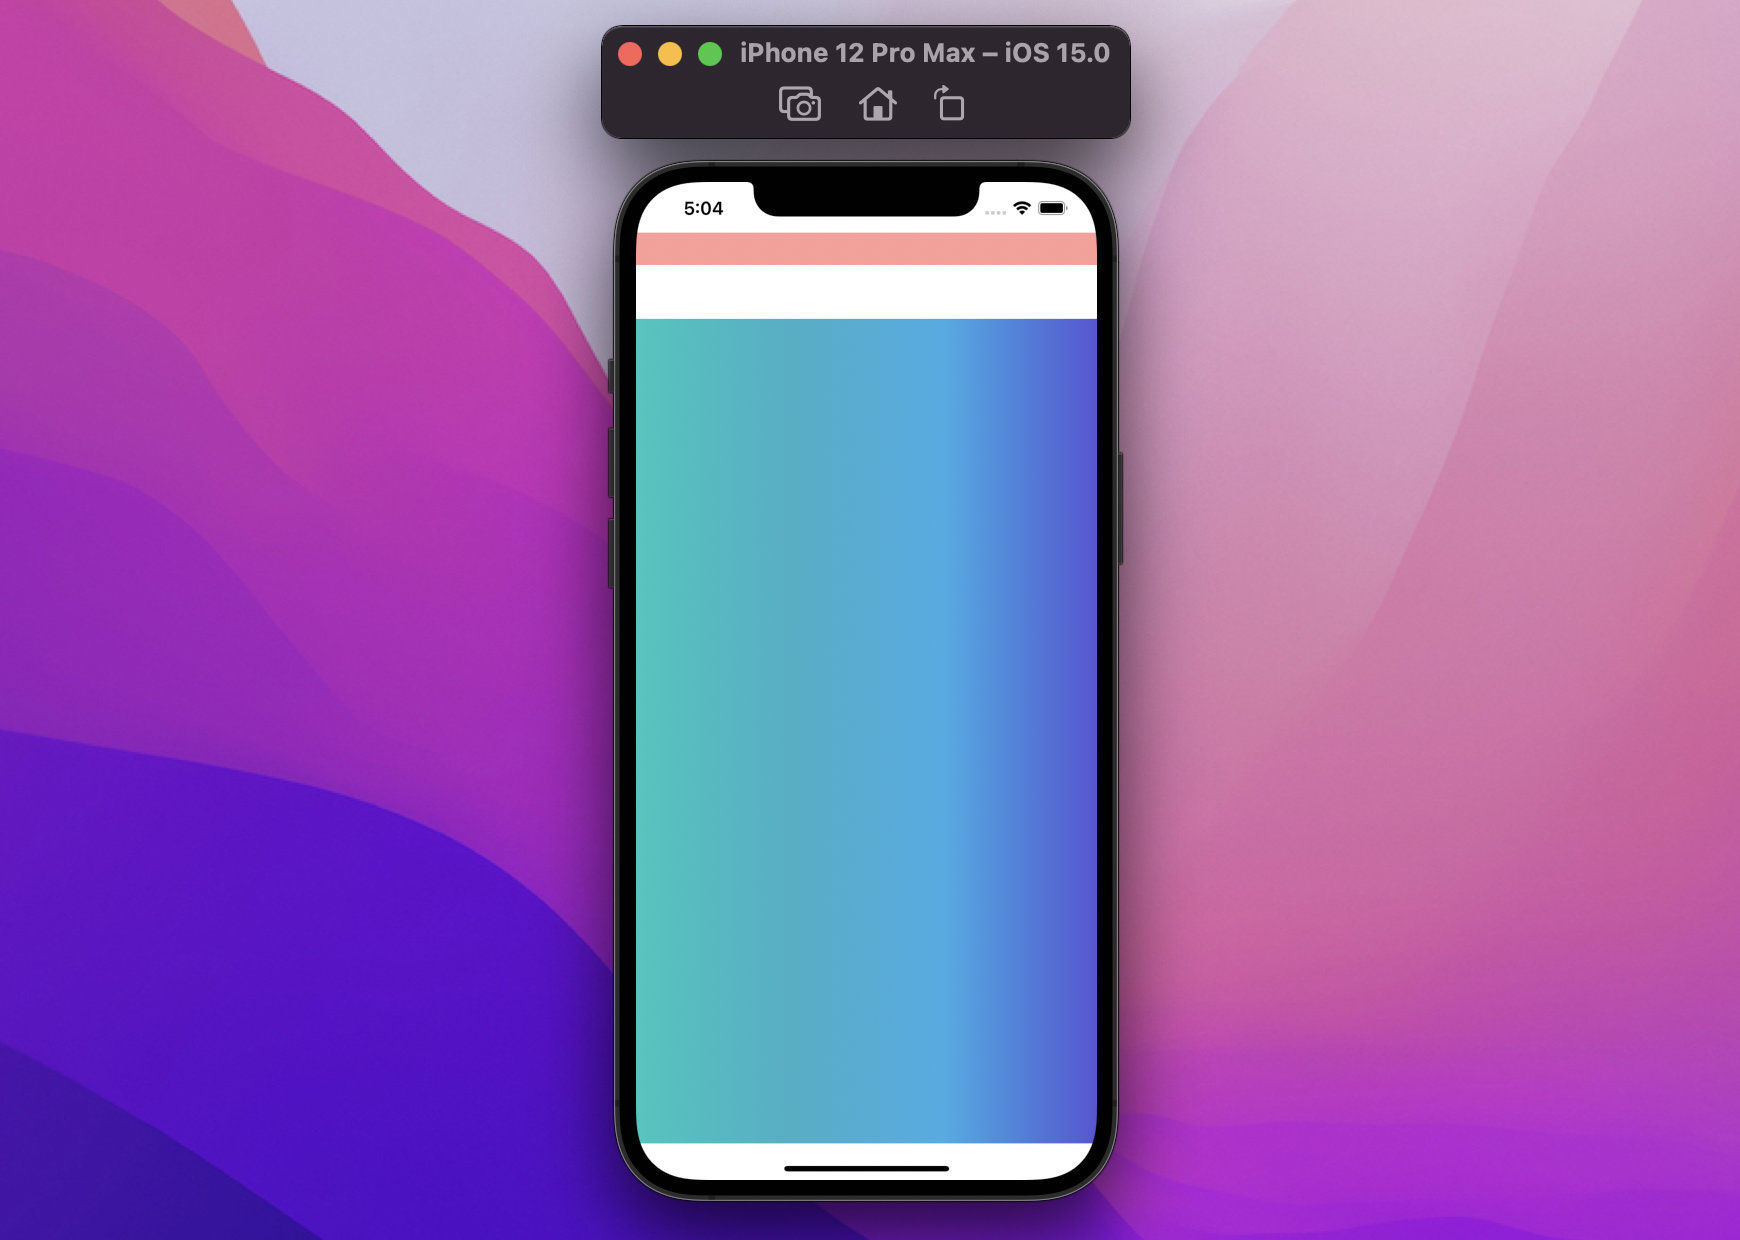
We passed a see-through view as the view modifier content: note how LinearGradient doesn't extend beneath it.
This is because our safeAreaInset:
- takes in the observed region
- places its
content(the red color above) in that region (according to its parameters) - reduces the available region, based on both its
contentsize and parameters, and passes it down toLinearGradient
This is a big departure from the overlay view modifier, where:
- the view where the overlay is applied to places itself in the observed region
- the overlay inherits that view location and size
- the overlay is placed on top of that space
The way things get placed is essentially the opposite.
Size
Because safeAreaInset only cares about the observed region, its content can exceed the size of the view it's applied to:
struct ContentView: View {
  var body: some View {
    LinearGradient(
      colors: [.mint, .teal, .cyan, .indigo],
      startPoint: .leading,
      endPoint: .trailing
    )
    .frame(width: 50)
    .safeAreaInset(edge: .top, spacing: 0) {
      Color.red.frame(height: 30).opacity(0.5)
    }
  }
}
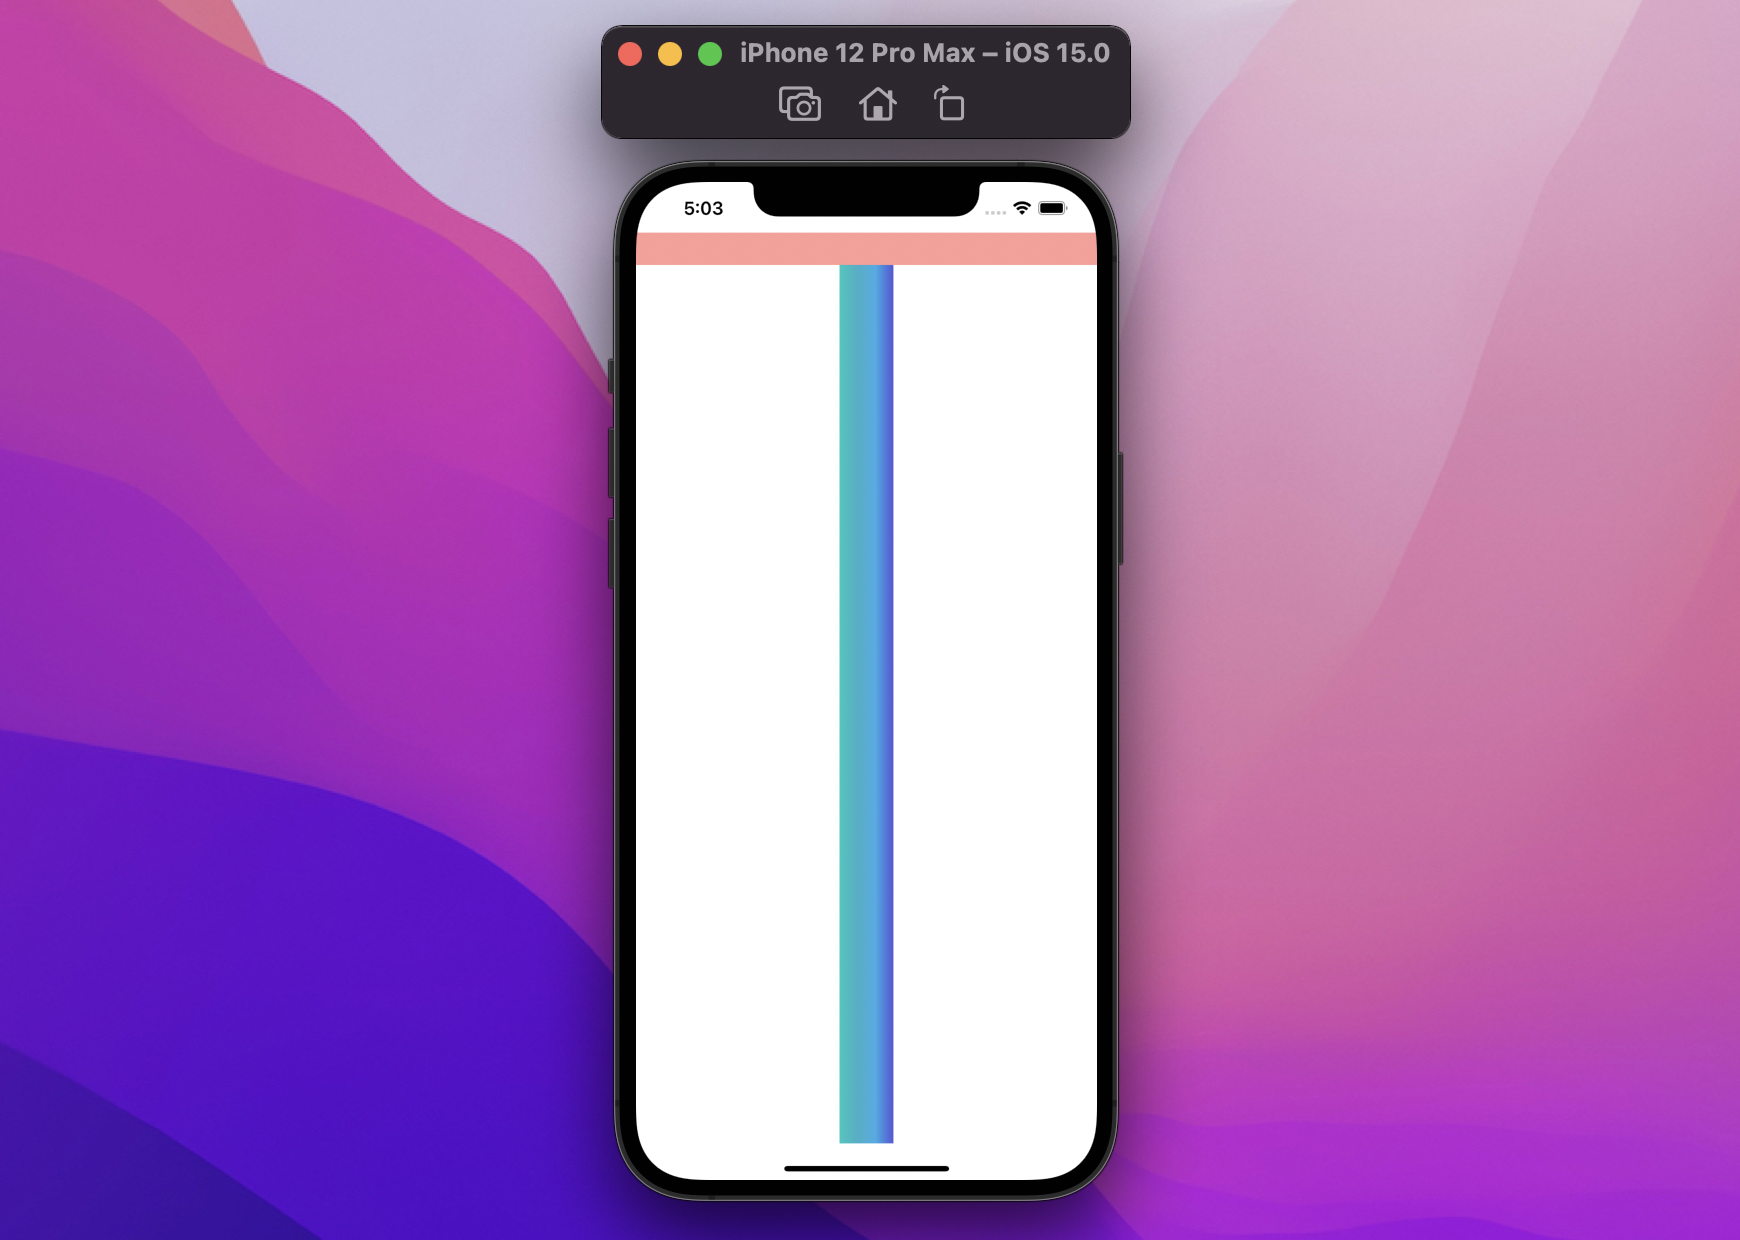
In this example, the view where safeAreaInset is applied is only 50 points wide, thanks to .frame(width: 50), however, the safeAreaInset's content still takes all the space it needs from the observed region.
Spacing
The spacing parameter further shifts the safe area beyond the bounds of the safeAreaInset content, in all examples we've so far it was always set to 0, let's pass 50 this time:
struct ContentView: View {
  var body: some View {
    LinearGradient(
      colors: [.mint, .teal, .cyan, .indigo],
      startPoint: .leading,
      endPoint: .trailing
    )
    .safeAreaInset(edge: .top, spacing: 50) {
      Color.red.frame(height: 30).opacity(0.5)
    }
  }
}
We now have a 50 points gap between our Color.red and LinearContent: this spacing always reduces the region available of our original view (the LinearGradient in our examples) by the amount provided, and only for the edge we're targeting.
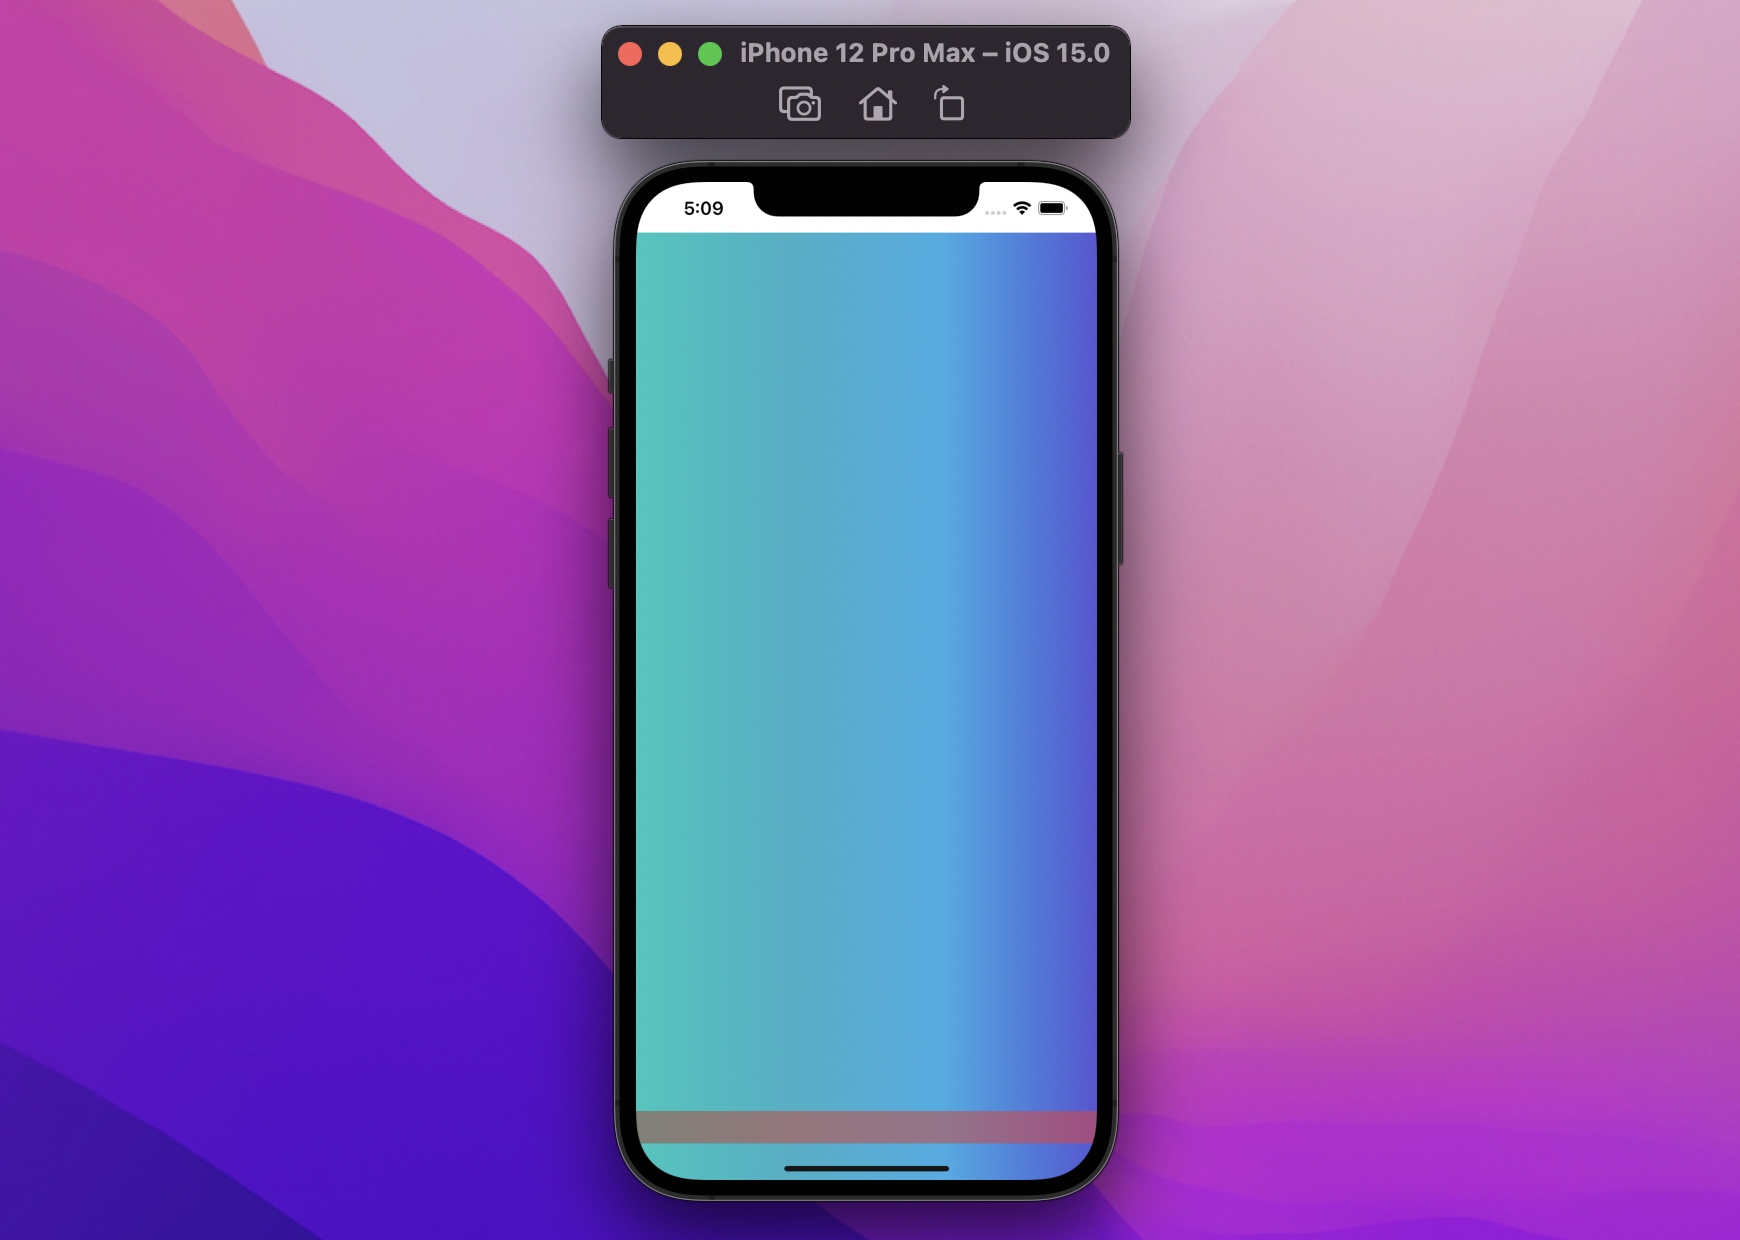
If we were to pass a negative spacing, then we'd be decreasing the safe region instead:
struct ContentView: View {
  var body: some View {
    LinearGradient(
      colors: [.mint, .teal, .cyan, .indigo],
      startPoint: .leading,
      endPoint: .trailing
    )
    .safeAreaInset(edge: .top, spacing: -10) {
      Color.red.frame(height: 30).opacity(0.5)
    }
  }
}
As expected, the safeAreaInset content did not move, however, the LinearGradient now overlaps Color.red for 10 points, as the safeAreaInset has a spacing of -10.
Alignment
The alignment parameter works similarly to how it did on overlay, positioning the safeAreaInset content at the right place when it doesn't entirely fit the available space.
With Color.red.frame(height: 30), the safeAreaInset content always took all the horizontal available space, let's limit its width to 30 and declare a .trailing alignment:
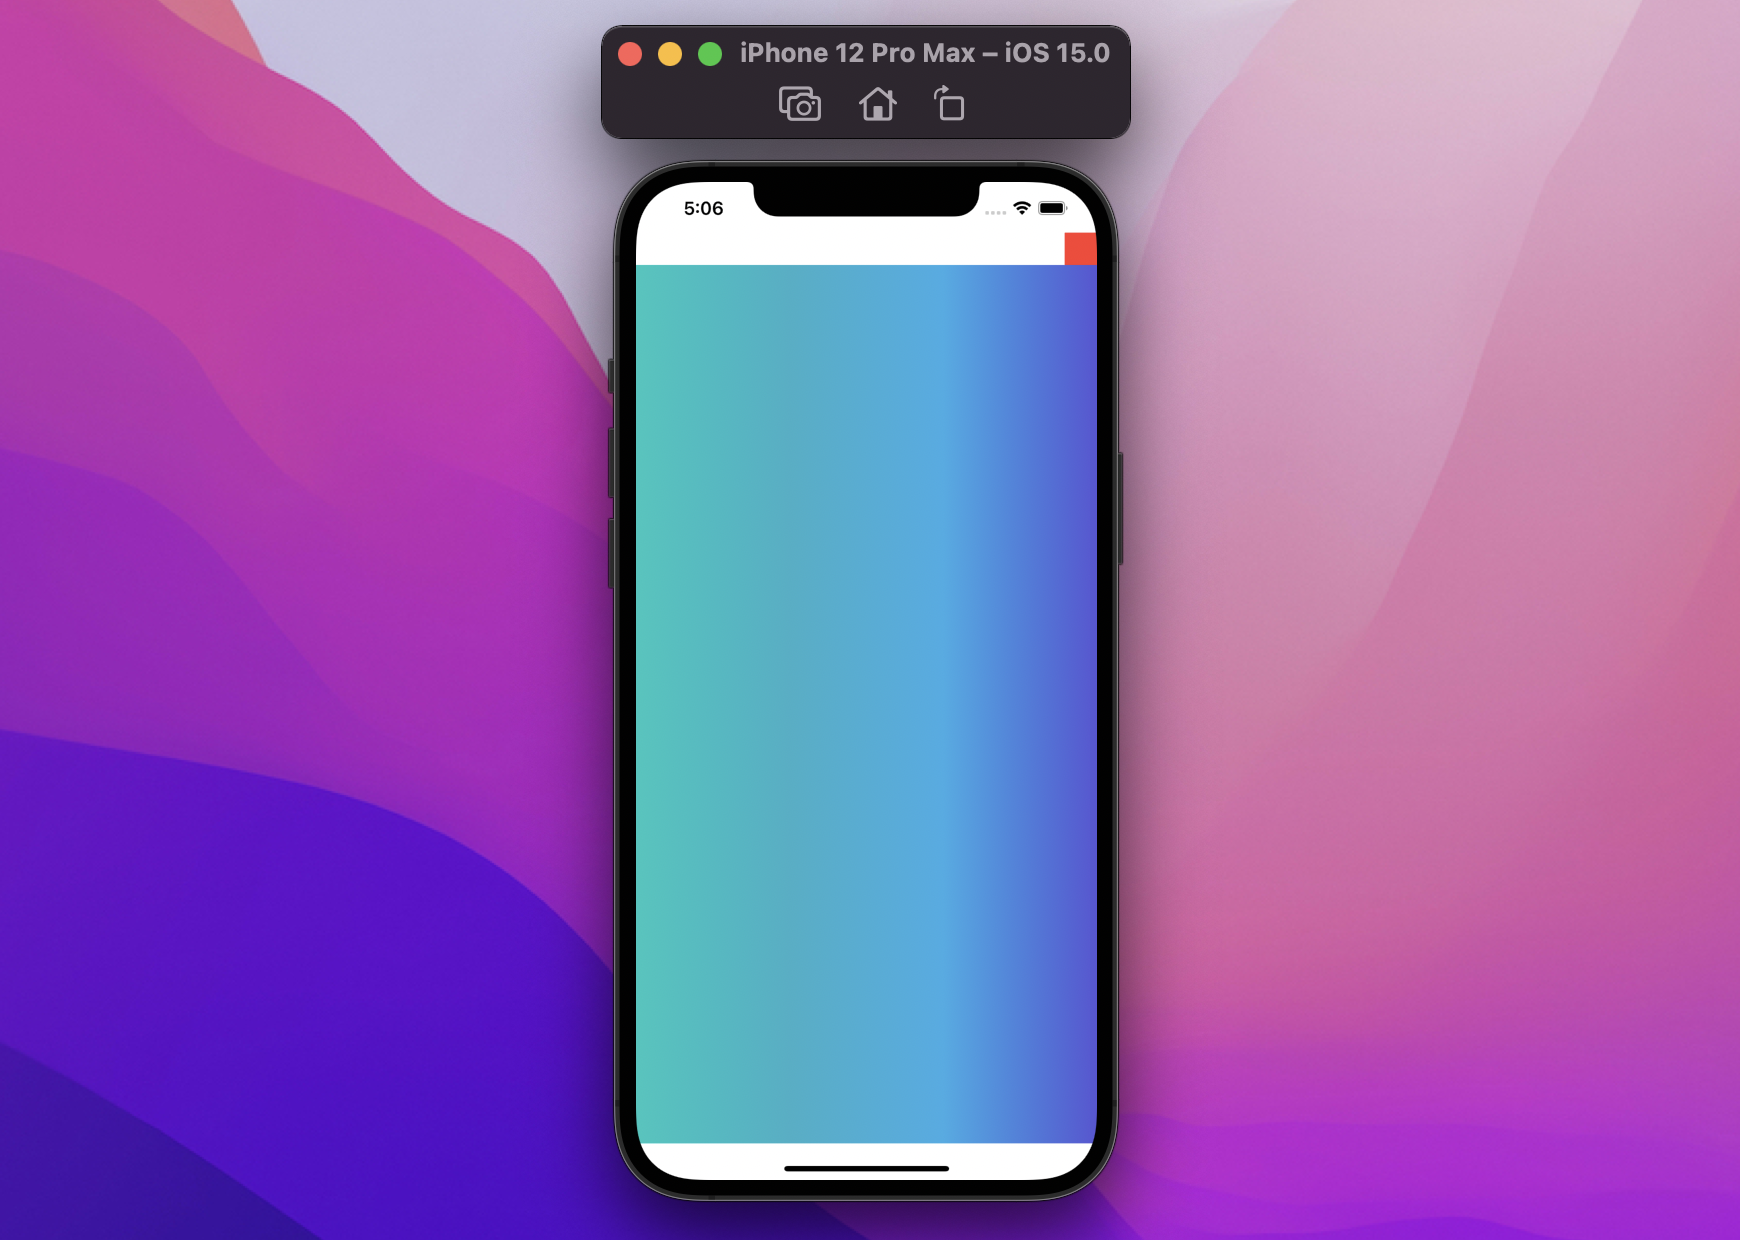
struct ContentView: View {
  var body: some View {
    LinearGradient(
      colors: [.mint, .teal, .cyan, .indigo],
      startPoint: .leading,
      endPoint: .trailing
    )
    .safeAreaInset(edge: .top, alignment: .trailing, spacing: 0) {
      Color.red.frame(width: 30, height: 30)
    }
  }
}
No surprises here.
Beyond the basics
With the introduction out of the way, let's try to experiment a little more with our new modifier.
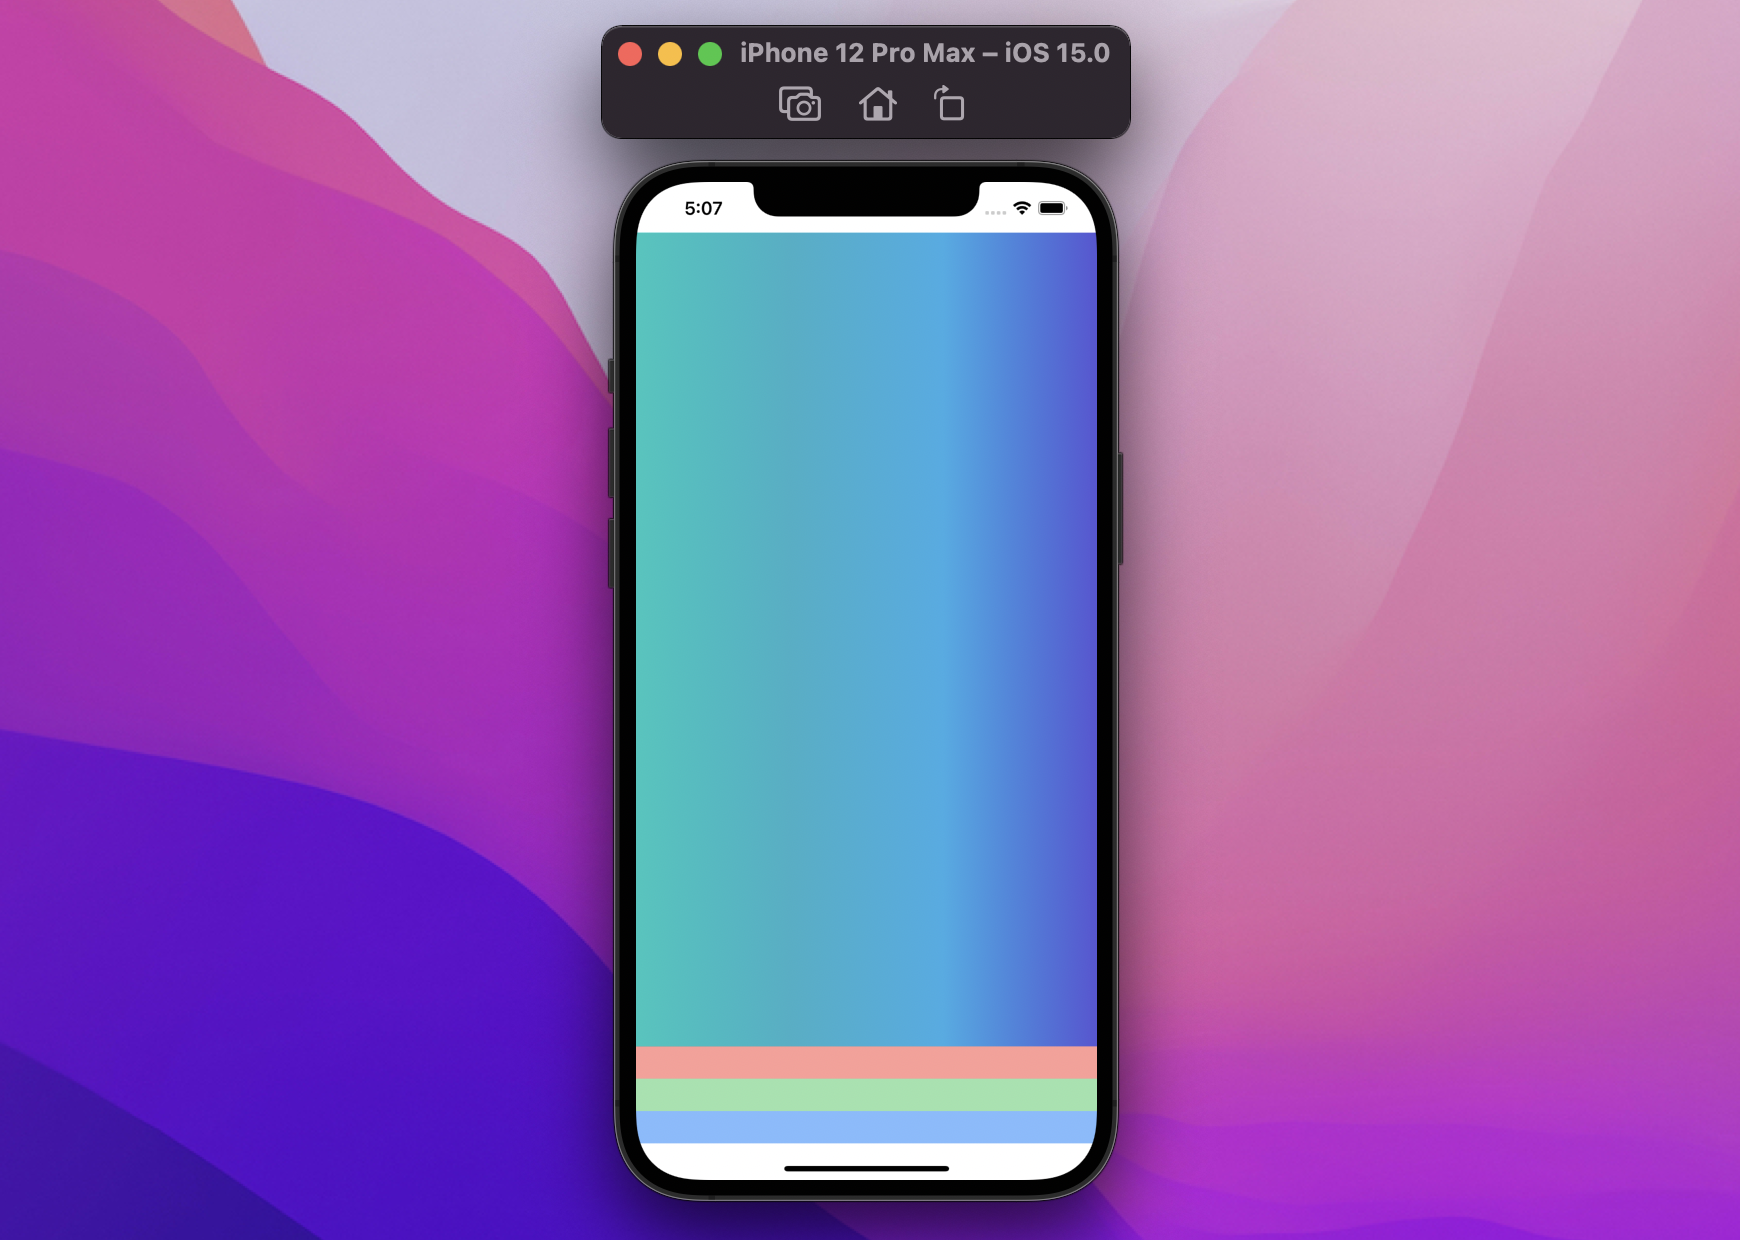
Cumulative view modifiers
What happens when we apply multiple safeAreaInset to the same view?
struct ContentView: View {
  var body: some View {
    LinearGradient(
      colors: [.mint, .teal, .cyan, .indigo],
      startPoint: .leading,
      endPoint: .trailing
    )
    .safeAreaInset(edge: .bottom, spacing: 0) {
      Color.red.frame(height: 30).opacity(0.5)
    }
    .safeAreaInset(edge: .bottom, spacing: 0) {
      Color.green.frame(height: 30).opacity(0.5)
    }
    .safeAreaInset(edge: .bottom, spacing: 0) {
      Color.blue.frame(height: 30).opacity(0.5)
    }
  }
}
Let's go back at the beginning of the article where we described safeAreaInset's three steps:
- the
safeAreaInsettakes in the observed region - places its
contentin that region (according to its parameters) - reduces the available region, based on the
contentsize and its parameters, and passes it down
The first view modifier applied is the outer-most one, the one with Color.blue, which takes the three steps above and passes down the reduced available region to the second-last safeAreaInset, the Color.green one, which will do the same, etc.
Here's the final result:
Multiple edges
We've seen how we can "stack" multiple safeAreaInsets, however we don't need to stop at one edge: it's totally ok to apply multiple safeAreaInset modifiers that apply to different edges:
struct ContentView: View {
  var body: some View {
    LinearGradient(
      colors: [.mint, .teal, .cyan, .indigo],
      startPoint: .leading,
      endPoint: .trailing
    )
    .safeAreaInset(edge: .top, spacing: 0) {
      Color.red.frame(height: 30).opacity(0.5)
    }
    .safeAreaInset(edge: .trailing, spacing: 0) {
      Color.green.frame(width: 30).opacity(0.5)
    }
    .safeAreaInset(edge: .bottom, spacing: 0) {
      Color.blue.frame(height: 30).opacity(0.5)
    }
    .safeAreaInset(edge: .leading, spacing: 0) {
      Color.yellow.frame(width: 30).opacity(0.5)
    }
  }
}
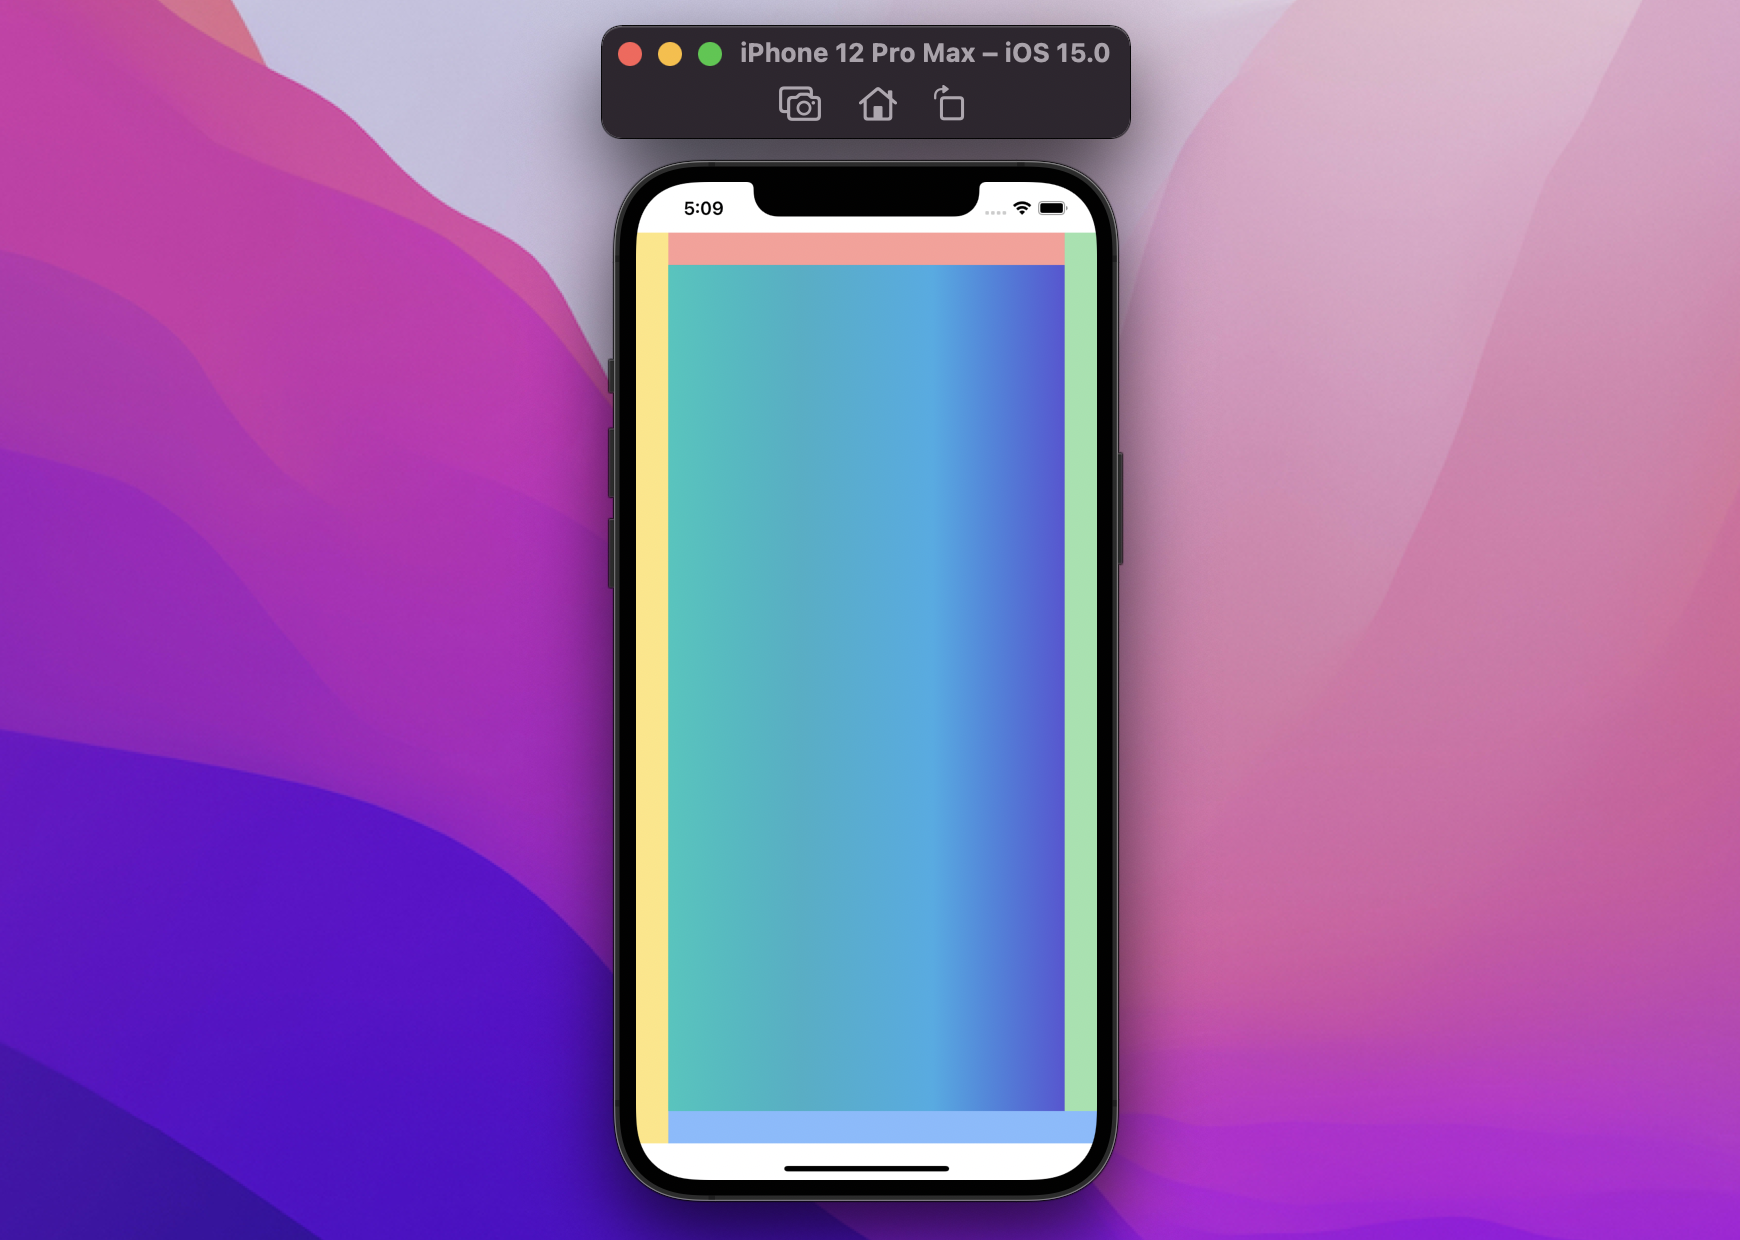
The same logic is still valid, regardless of what edge each safeAreaInset modifier target:
- first we apply/place the (outermost)
Color.yellowsafeAreaInset, which will take all the space needed, and pass the reduced region down - then we move to the
Color.bluesafeAreaInset, which will do the same - etc
ignoresSafeArea
Previously ignoresSafeArea meant letting our views be placed under the Home indicator, keyboard, and/or the status bar:
in iOS 15 ignoresSafeArea also means resetting any safeAreaInset.
In the following example we're first placing our safeAreaInset, and then ignore it before placing our final view:
struct ContentView: View {
  var body: some View {
    LinearGradient(
      colors: [.mint, .teal, .cyan, .indigo],
      startPoint: .leading,
      endPoint: .trailing
    )
    .ignoresSafeArea(edges: .bottom)
    .safeAreaInset(edge: .bottom, spacing: 0) {
      Color.red.frame(height: 30).opacity(0.5)
    }
  }
}
As of Xcode 13b1, only
ScrollViewcorrectly observessafeAreaInsets: hopefullyListandFormwill be fixed in an upcoming Xcode seed (FB9166130).
Conclusions
WWDC21 brought us a lot of new SwiftUI functionality, allowing us to push our apps to the next level: safeAreaInset is one of those view modifiers that you didn't know you needed until you do, and it comes with a great, simple API.
Are you planning to use safeAreaInset? What challenges will it solve in your app? Please let me know either via email or Twitter!
This is the first of a series of articles exploring new SwiftUI features. We will cover many more during the rest of the summer: subscribe to Five Stars's feed RSS or follow @FiveStarsBlog on Twitter to never miss new content!