How to apply a reverse mask in SwiftUI
 @zntfdr
📚 This article comes with a companion app! Download it here.
In the last two articles, we've covered SwiftUI clipping and masking. In this final article of the series, let's explore what we can do beyond what SwiftUI offers out of the box.
In a hurry? Jump to the last chapter before the conclusions to grab the code you're looking for.
Reverse Mask (a.k.a. Inverse Mask)
Let's start with a simple yellow rectangle, we highlight the view bounds in red for reference:
Color.yellow
  .frame(width: 200, height: 200)
  .border(.red)
A reverse mask applies the opposite effect of regular masks:
it uses the same rule based on the mask opacity, but in reverse. Here's a first comparison:
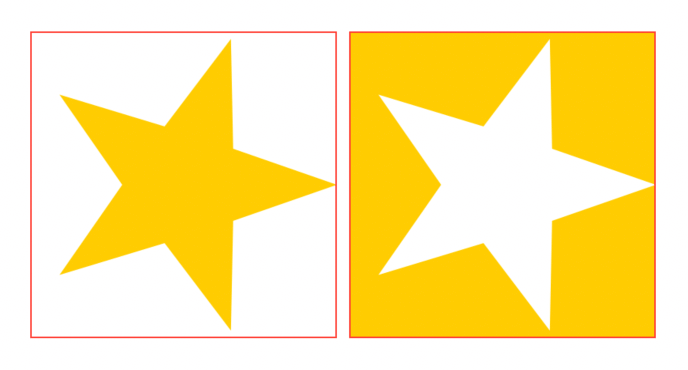
In both cases, we use the same Star() shape as the mask:
- on the left, where we apply a regular mask, the original yellow rectangle is drawn only where the shape is
- on the right, where we apply a reverse mask, the original yellow rectangle is drawn everywhere but where the shape is
Here are a couple of more examples to render the idea:
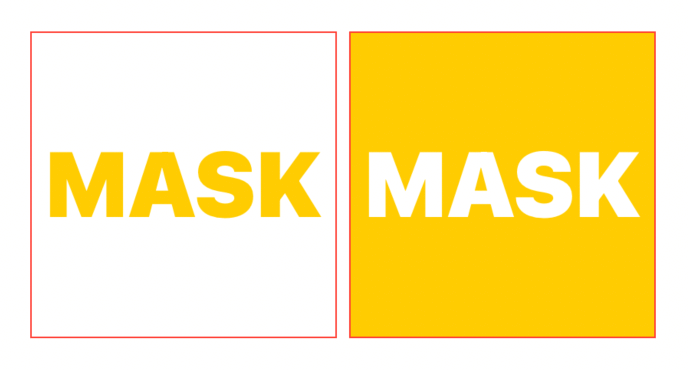
Here we use a Text as the mask.
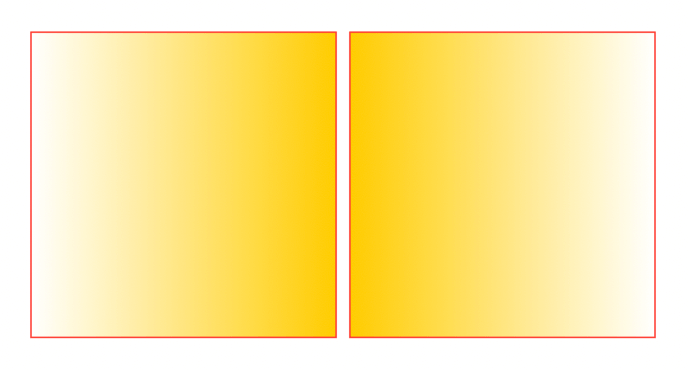
Here we use a LinearGradient as the mask.
A reverse mask modifier
Unfortunately, SwiftUI doesn't offer a reverse mask modifier. There are certainly reasons why this is the case, a few might be around answering the following questions:
- does a reverse mask allow content bleeding?
- does a reverse mask alignment refer to the view bound or the content bound?
There's no wrong answer to both questions, and probably legit use cases for all of them.
While there's no official API, we have various ways to create our own reverse mask API for our needs. Let's explore how.
Blending
When we stack views on top of each other, the views at the bottom are hidden by those above. We can leverage this through opacity or playing with views of different sizes, but the idea stays: views at the bottom will always have some parts hidden (or semi-hidden) by views above.
A powerful technique breaking out of this standard behavior is blending, which lets us use different view properties (hue, opacity, luminosity, and more) to compose the final stack appearance.
We will go through all the various blend modes in a future article: for the moment, let's focus on the destination out blending more, BlendMode.destinationOut.
With blend modes, the source is the top view, while the destination is the bottom view.
With destination out, the final view is the bits of the bottom view (the destination) where it doesn't overlap with the top view (the source).
Here's an example where the destination is a Rectangle, and the source is a Circle, both of the same size:
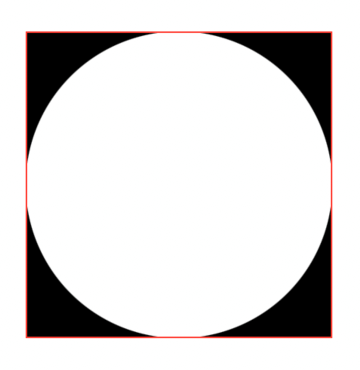
ZStack {
  Rectangle() // destination
  Circle()    // source
    .blendMode(.destinationOut)
}
.compositingGroup()
.border(.red)
If we now invert the two views, the ZStack draws nothing, because the Rectangle (source) overlaps the Circle (destination) entirely:
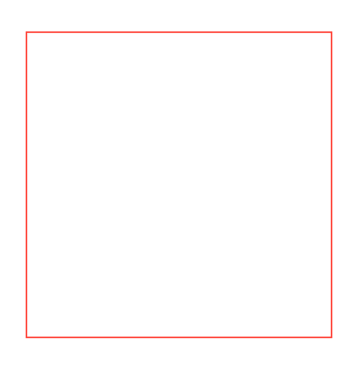
ZStack {
  Circle()    // destination
  Rectangle() // source
    .blendMode(.destinationOut)
}
.compositingGroup()
.border(.red)
Similar to the mask(alignment:_:) view modifier, blendMode(.destinationOut) uses each view opacity to determine the final output. Here are the same examples as before, where we replace the Rectangle with a fading gradient:
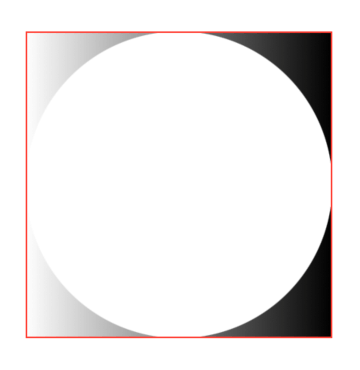
ZStack {
  LinearGradient(
    colors: [.clear, .black],
    startPoint: .leading, endPoint: .trailing
  )           // destination
  Circle()    // source
    .blendMode(.destinationOut)
}
.compositingGroup()
.border(.red)

ZStack {
  Circle()    // destination
  LinearGradient(
    colors: [.clear, .black],
    startPoint: .leading, endPoint: .trailing
  )           // source
  .blendMode(.destinationOut)
}
.compositingGroup()
.border(.red)
By now, readers of the previous two articles of this SwiftUI masking series might have already guessed where this is going: we can use this destination out blending technique to create our reverse mask.
Building a reverse mask modifier
First, we want to keep the same API as the mask(alignment:_:) modifier, this is how it will look like:
extension View {
  @inlinable
  public func reverseMask<Mask: View>(
    alignment: Alignment = .center,
    @ViewBuilder _ mask: () -> Mask
  ) -> some View
}
Next, we know that mask(alignment:_:) works by showing the original view only where the mask has opacity, we want to do the opposite now. Let's start by applying a normal mask:
extension View {
  @inlinable
  public func reverseMask<Mask: View>(
    alignment: Alignment = .center,
    @ViewBuilder _ mask: () -> Mask
  ) -> some View {
    self.mask {
      Rectangle()
    }
  }
}
By passing a Rectangle() in the mask modifier, we have obtained the same effect as .clipped():
we no longer allow content bleeding, but the original content is still visible within the view bounds.
Next, we want to apply the .destinationOut blend mode with our mask as the source, and the clipping rectangle as the destination:
// ⚠️ this is not the final code.
extension View {
  @inlinable
  public func reverseMask<Mask: View>(
    alignment: Alignment = .center,
    @ViewBuilder _ mask: () -> Mask
  ) -> some View {
    self.mask {
      ZStack {
        Rectangle() // destination
        mask()      // source
          .blendMode(.destinationOut)
      }
    }
  }
}
Thanks to ZStack, we're applying the same effects covered in the Blending chapter above and then using the outcome as the input for a regular mask, obtaining a reverse mask.
Lastly, we want to respect the alignment parameter, the best way to do this, while also dealing with masks that could have a bigger size than the view they're applied to, is to apply an overlay to our Rectangle:
extension View {
  @inlinable
  public func reverseMask<Mask: View>(
    alignment: Alignment = .center,
    @ViewBuilder _ mask: () -> Mask
  ) -> some View {
    self.mask {
      Rectangle()
        .overlay(alignment: alignment) {
          mask()
            .blendMode(.destinationOut)
        }
    }
  }
}
This is exactly how we obtained the examples at the beginning of the article, here are them again, with their code.
HStack {
  Color.yellow
    .frame(width: 200, height: 200)
    .mask {
      Star()
    }
    .border(.red)

  Color.yellow
    .frame(width: 200, height: 200)
    .reverseMask {
      Star()
    }
    .border(.red)
}
HStack {
  Color.yellow
    .frame(width: 200, height: 200)
    .mask {
      Text("MASK")
        .font(.system(size: 60).weight(.black))
    }
    .border(.red)

  Color.yellow
    .frame(width: 200, height: 200)
    .reverseMask {
      Text("MASK")
        .font(.system(size: 60).weight(.black))
    }
    .border(.red)
}
HStack {
  Color.yellow
    .frame(width: 200, height: 200)
    .mask {
      LinearGradient(
        colors: [.clear, .black],
        startPoint: .leading, endPoint: .trailing
      )
    }
    .border(.red)

  Color.yellow
    .frame(width: 200, height: 200)
    .reverseMask {
      LinearGradient(
        colors: [.clear, .black],
        startPoint: .leading, endPoint: .trailing
      )
    }
    .border(.red)
}
The complete source code can be found here.
Conclusions
SwiftUI might not always offer the API that we need out of the box. However, most of the time, the tooling at our disposal can fill in the gap, and allow us to build the perfect API for any occasion.
This article is the final part of the SwiftUI masking series. Thank you for reading, and stay tuned for more SwiftUI content!
Have you ever used reverse masking before? Please let me know!