Swift protocols in SwiftUI
Like any other Swift framework, SwiftUI heavily relies on protocols as a core part of its definitions:
in previous articles, we've covered examples of SwiftUI's protocols, such as View or LabelStyle.
Let's take a look at SwiftUI's usage of Swift standard library protocols: Hashable, Identifiable, and Equatable.
This article is not an introduction to such protocols. If you need a quick refresher, Mattt's NSHipster has your back:
EquatableandComparable,Hashable/Hasher, andIdentifiable.
Equatable
SwiftUI is as lazy as it gets:
nothing is redrawn unless deemed necessary, nothing is computed unless there's demand for it.
Equatable is one of the unsung heroes of SwiftUI's performance. Computing layouts, drawing components, etc., is expensive: the less SwiftUI does so, the better performance.
Equatable is what's used by SwiftUI to take such decisions: even for views that do not declare Equatable conformance, SwiftUI traverses the view definition via Swift reflection and check for equatability of each property and decides if a redrawn is needed base on that.
This is just a sneak peek of what's happening behind the scenes: for a closer look, please refer to Javier Nigro's The Mystery Behind View Equality.
Identifiable
While equatability is used to detect a view state change (therefore triggering a redraw), Identifiable separates a view identity from its state.
This is used in SwiftUI, for example to track elements order in List and OutlineGroup:
- imagine a list of elements where some reordering might happen. If the reordering doesn't involve any other change, only the list will need to update the cell order, but no cell will need to redraw.
- on the other hand, if only a cell state changes but the ordering doesn't, just the specific cell will need to redraw, while the list itself doesn't have to do anything.
Another example where Identifiable is used is in Picker:
in this case, Identifiable is used to determine which element among the possible candidates is the selected one (if any), regardless of other possible states within the element type definition.
Lastly, Identifiable is used by all system alerts/sheets:
sheet(item:onDismiss:content:)fullScreenCover(item:onDismiss:content:)popover(item:attachmentAnchor:arrowEdge:content:)alert(item:content:)actionSheet(item:content:)
These also offer a simpler
isPresentedboolean alternative, using the same thought process we covered in Hashable SwiftUI bindings.
In this case (I believe), the idea to use Identifiable is to give us a chance to clearly define the possible different alerts/sheets and pass more data if needed.
Imagine having two different sheets:
enum ContentViewSheet: Identifiable {
  case one
  case two

  var id: Int {
    switch self {
    case .one:
      return 1
    case .two:
      return 2
    }
  }
}
ContentViewSheet has a case for each sheet, we can this definition along with sheet(item:onDismiss:content:) as following:
struct ContentView: View {
  @State private var showingSheet: ContentViewSheet?

  var body: some View {
    VStack {
      Button("go to sheet 1") {
        showingSheet = .one
      }

      Button("go to sheet 2") {
        showingSheet = .two
      }
    }
    .sheet(item: $showingSheet, content: presentSheet)
  }

  @ViewBuilder
  private func presentSheet(for sheet: ContentViewSheet) -> some View {
    switch sheet {
    case .one:
      Text("One")
    case .two:
      Text("Two")
    }
  }
}
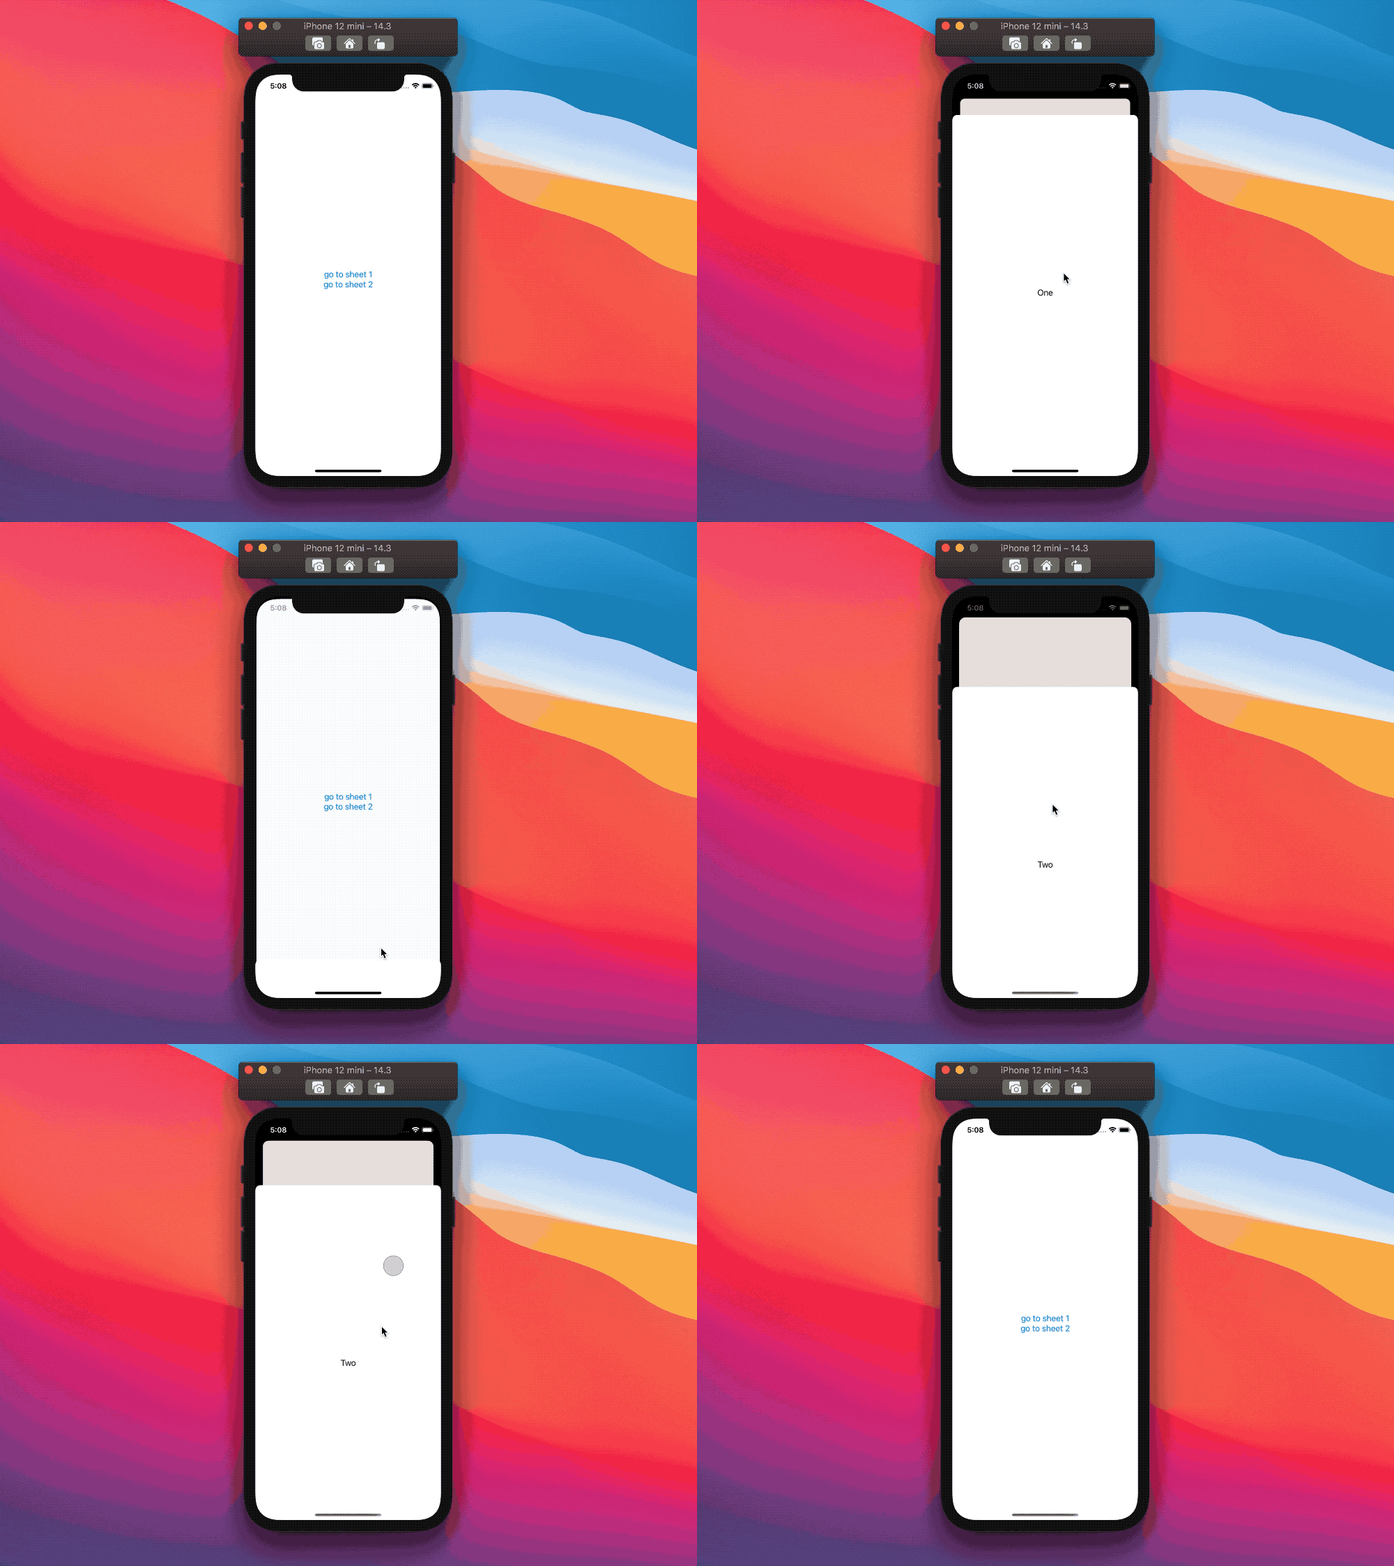
This view shows a couple of buttons that, when tapped, will trigger the display of the associated sheet:

Let's say that we would like to pass a value to the second sheet. A way to do so (which might not be the most correct/recommended) is by extending the second ContentViewSheet case with an associated value:
enum ContentViewSheet: Identifiable {
  case one
  case two(someData: Int) // new associated value

  /// The identity ignores the `someData` value.
  var id: Int {
    switch self {
    case .one:
      return 1
    case .two:
      return 2
    }
  }
}
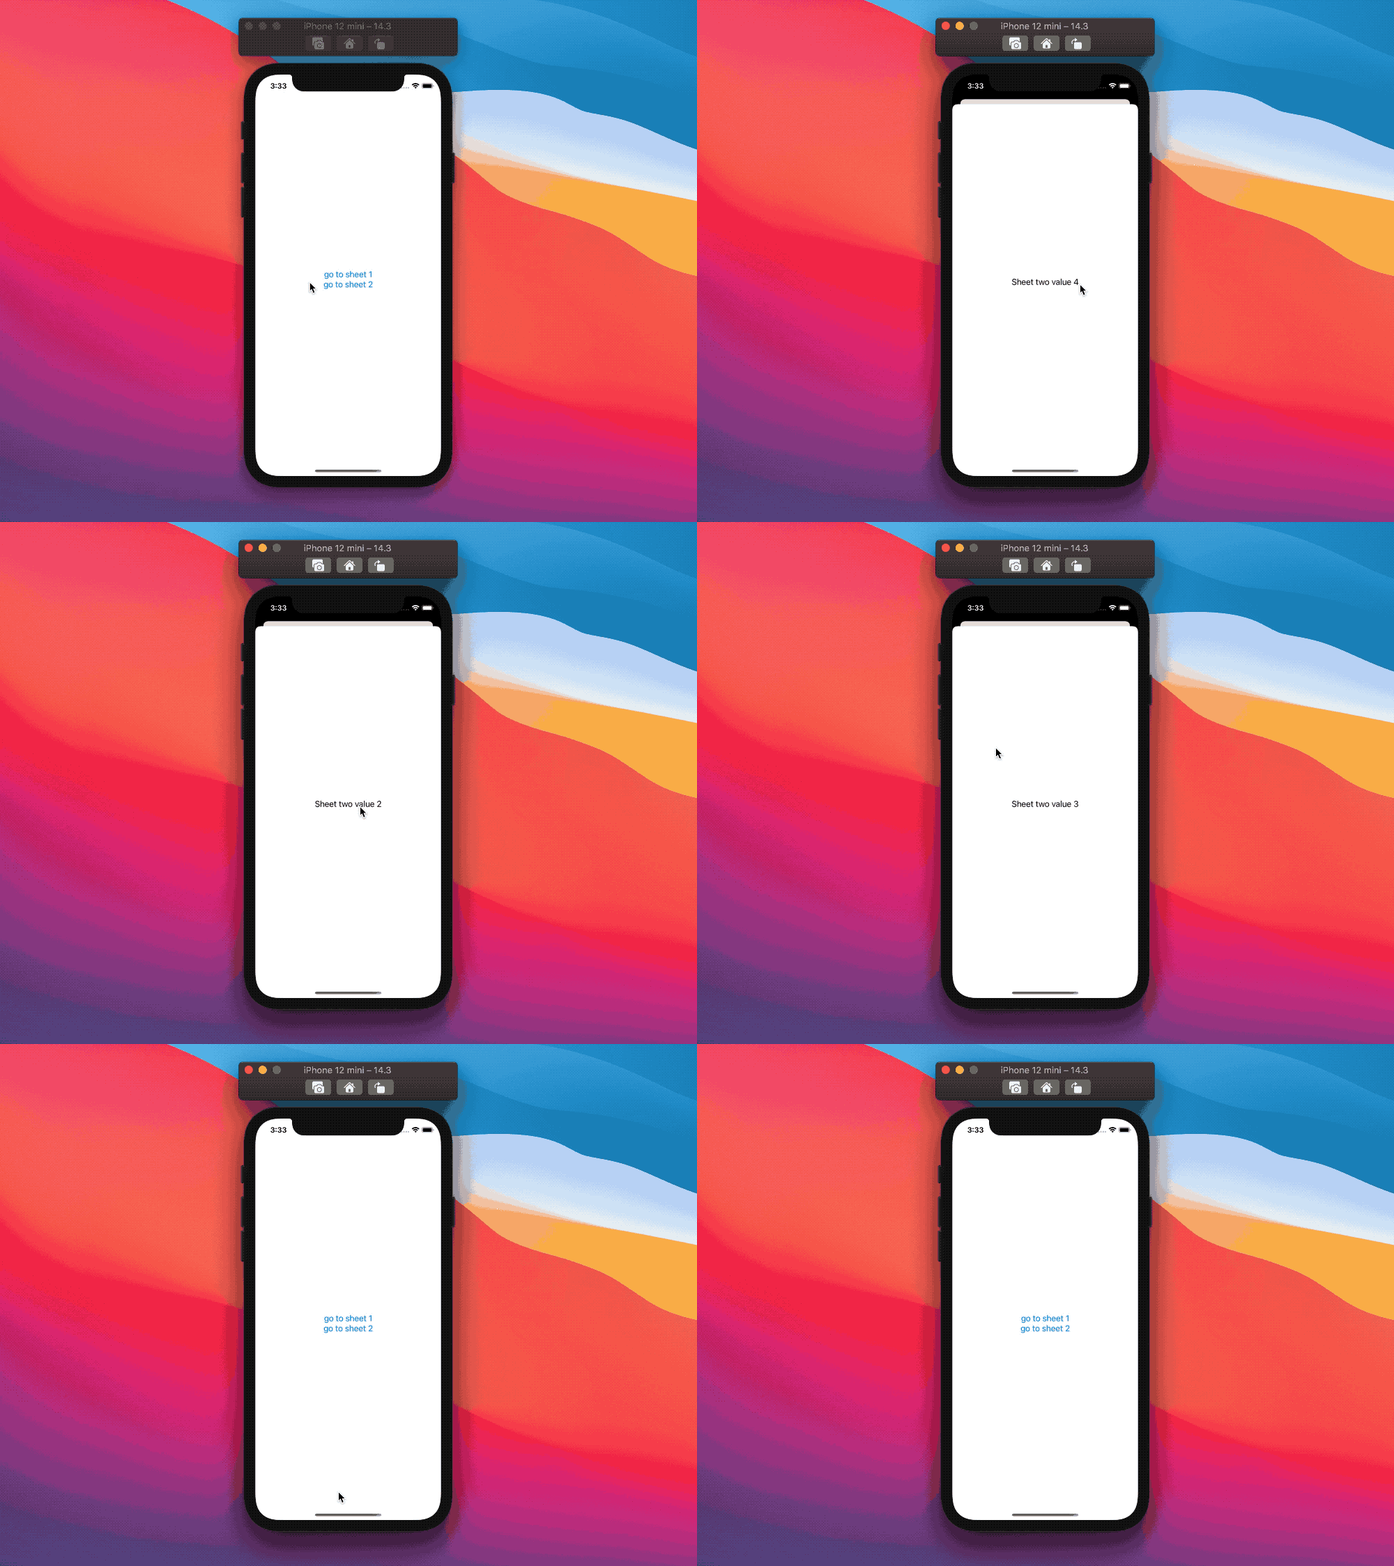
Thanks to someData, we can now pass an Int value (or any other value really) when creating a new sheet:
struct ContentView: View {
  ...

  var body: some View {
    VStack {
      ...

      Button("go to sheet 2") {
        showingSheet = .two(someData: Int.random(in: 1...5)) // Pass data here
      }
    }
    .sheet(item: $showingSheet, content: presentSheet)
  }

  @ViewBuilder
  private func presentSheet(for sheet: ContentViewSheet) -> some View {
    switch sheet {
      ...
    case .two(let value): // read and use the data here
      Text("Sheet two with value \(value)")
    }
  }
}

Hashable
Hashable is used mainly in two views, TabView and NavigationLink, and for @FocusState.
These views work with tags, which are our way to connect view declarations to the values of the associated Hashable types SwiftUI needs to listen to.
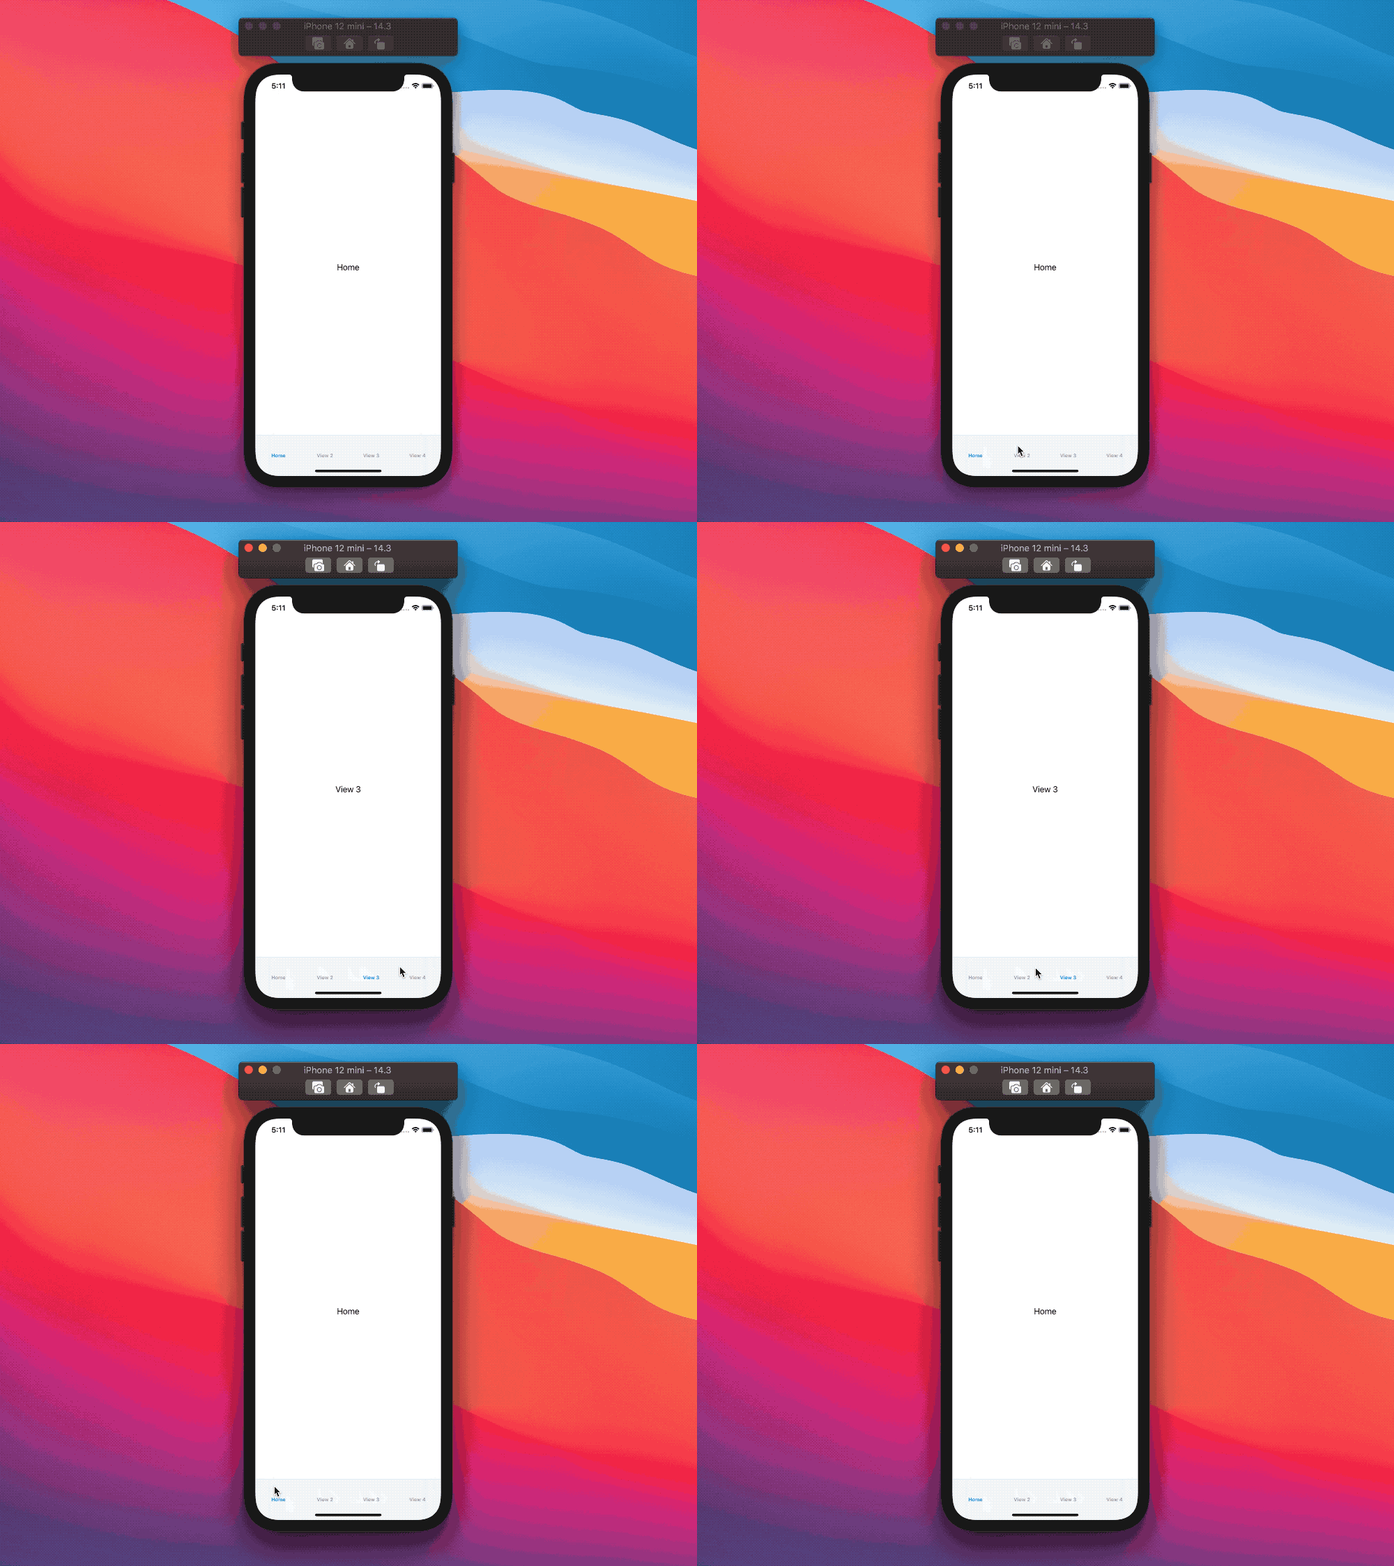
In TabView case, we might declare each possible tab as follows:
enum Tab: Hashable {
  case home
  case view2
  case view3
  case view4
}
Beside the type declaration, we now need a way to associate each view to each tab, and this is done via the tag(_:) method:
struct ContentView: View {
  @State private var tabBarState: Tab = .home

  var body: some View {
    TabView(selection: $tabBarState) {
      Text("Home")
        .tabItem { Text("Home") }
        .tag(Tab.home)

      Text("View 2")
        .tabItem { Text("View 2") }
        .tag(Tab.view2)

      Text("View 3")
        .tabItem { Text("View 3") }
        .tag(Tab.view3)

      Text("View 4")
        .tabItem { Text("View 4") }
        .tag(Tab.view4)
    }
  }
}

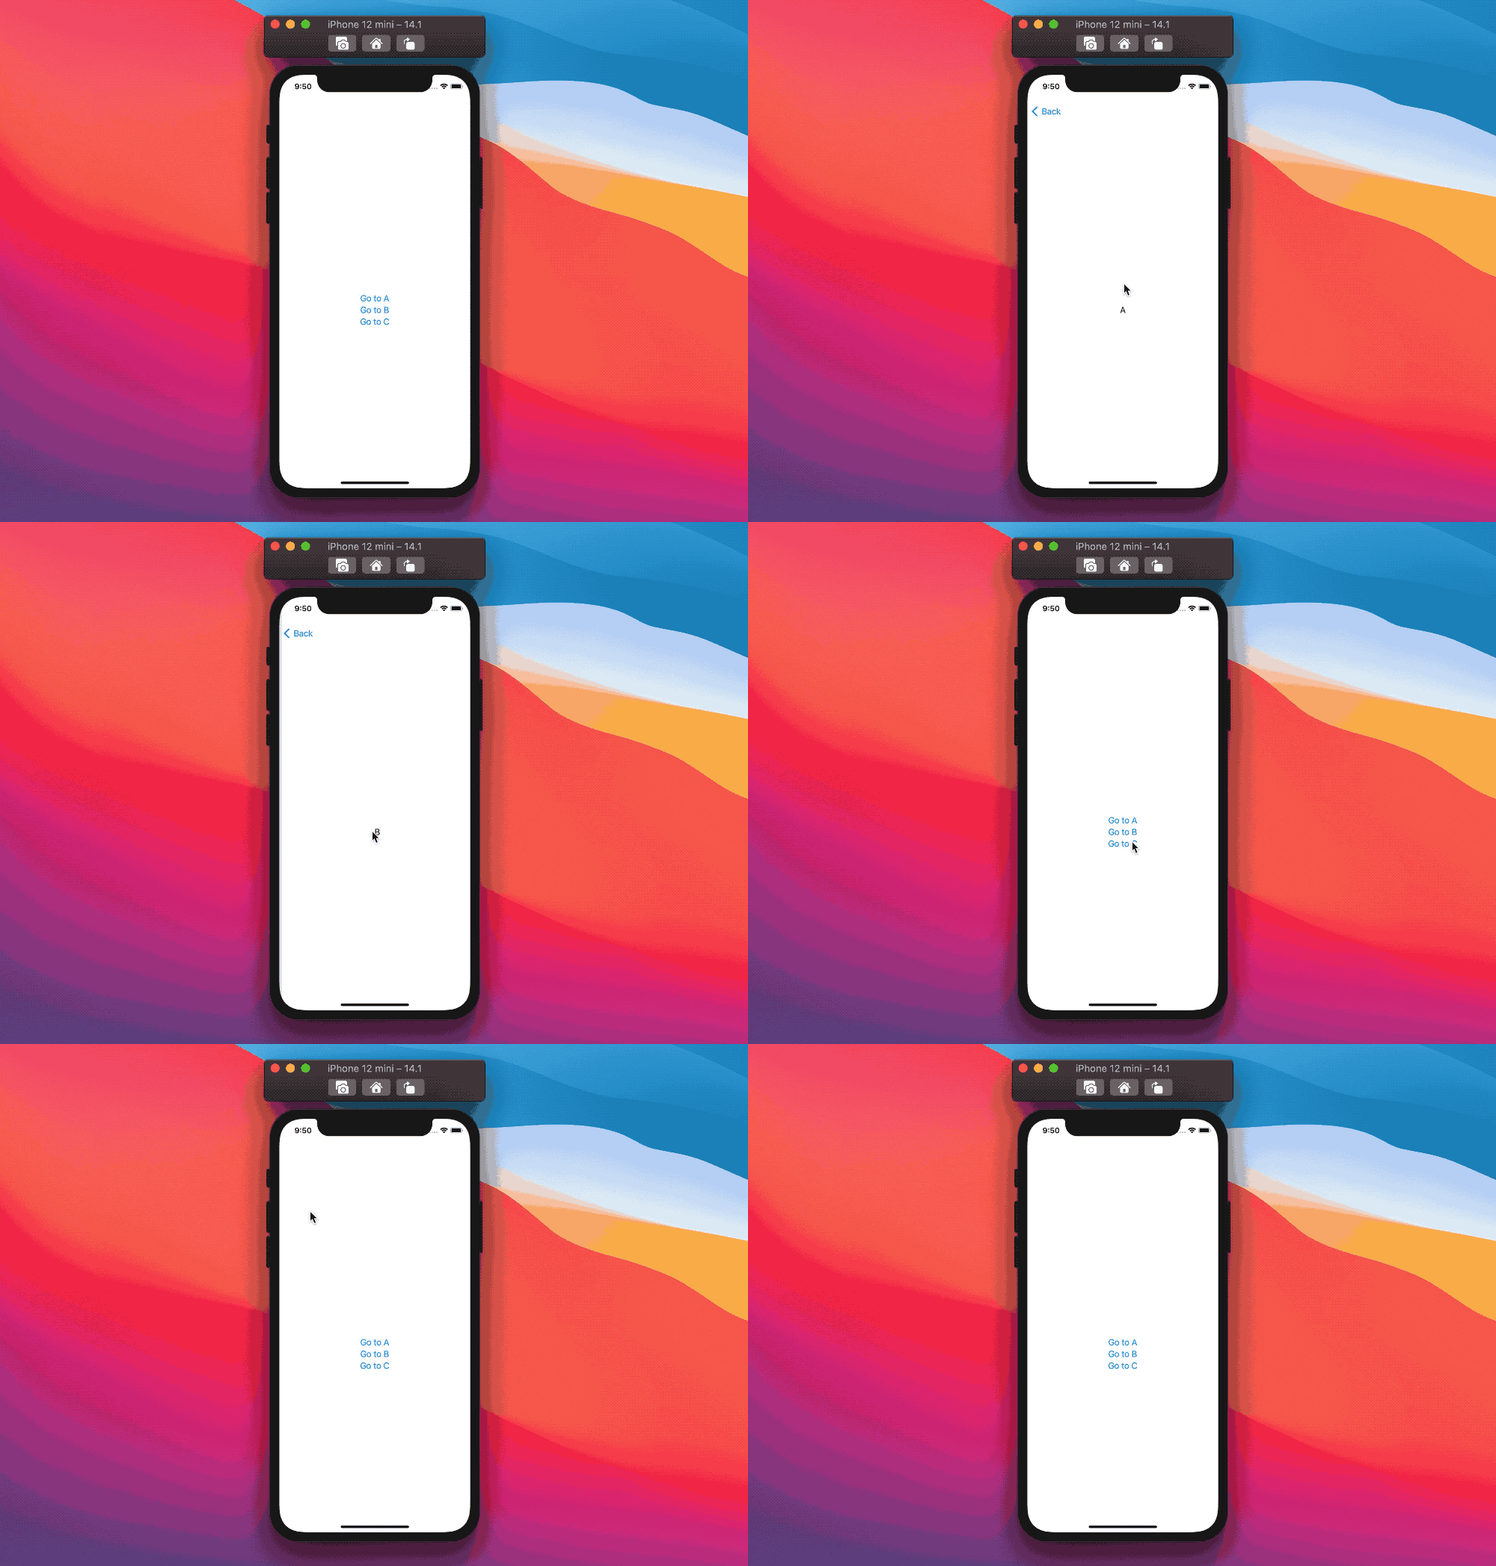
In a similar manner, as we've seen previously, we need to declare a new NavigationLink for each possible destination:
enum ContentViewNavigation: Hashable {
  case a // destination a
  case b // destination b
  case c // destination a
}

struct ContentView: View {
  @State var showingContent: ContentViewNavigation?

  var body: some View {
    NavigationView {
      VStack {
        NavigationLink("Go to A", destination: Text("A"), tag: .a, selection: $showingContent)
        NavigationLink("Go to B", destination: Text("B"), tag: .b, selection: $showingContent)
        NavigationLink("Go to C", destination: Text("C"), tag: .c, selection: $showingContent)
      }
    }
  }
}

While this tag approach makes total sense for TabViews, as of today, this is also the most advanced way to control navigation within an app thanks to NavigationLink:
this becomes cumbersome when we want to pass data to the destination view, especially when doing so programmatically (deep linking, anyone?).
This is probably one of the most awkward points when moving from UIKit to SwiftUI:
I'm sure the SwiftUI team had reasons to choose this route just for navigation instead of the Identifiable approach used by all other view presentations (as seen above). Still, I sure hope we will see some evolutions on this in the future to streamline things (FB8910787).
Conclusions
Similarly to how to really understand UIKit we need to grasp and understand Objective-C; learning and understanding SwiftUI requires us to learn and understand Swift: the more we learn about one, the more we learn about the other.
SwiftUI might not be "complete" nor "perfect" as it stands today, but as mentioned in the last article, the current state presents us a great opportunity to learn in depth both the framework itself and the Swift language.
Do you have any leads on the reason behind the use of Hashable for Navigation? Please let me know!
Thank you for reading, and stay tuned for more articles!
 @zntfdr