Behind The Scenes Of Context Menus
 @zntfdr
iOS 13 comes with a fresh interpretation of Peek and Pop called Context Menus.
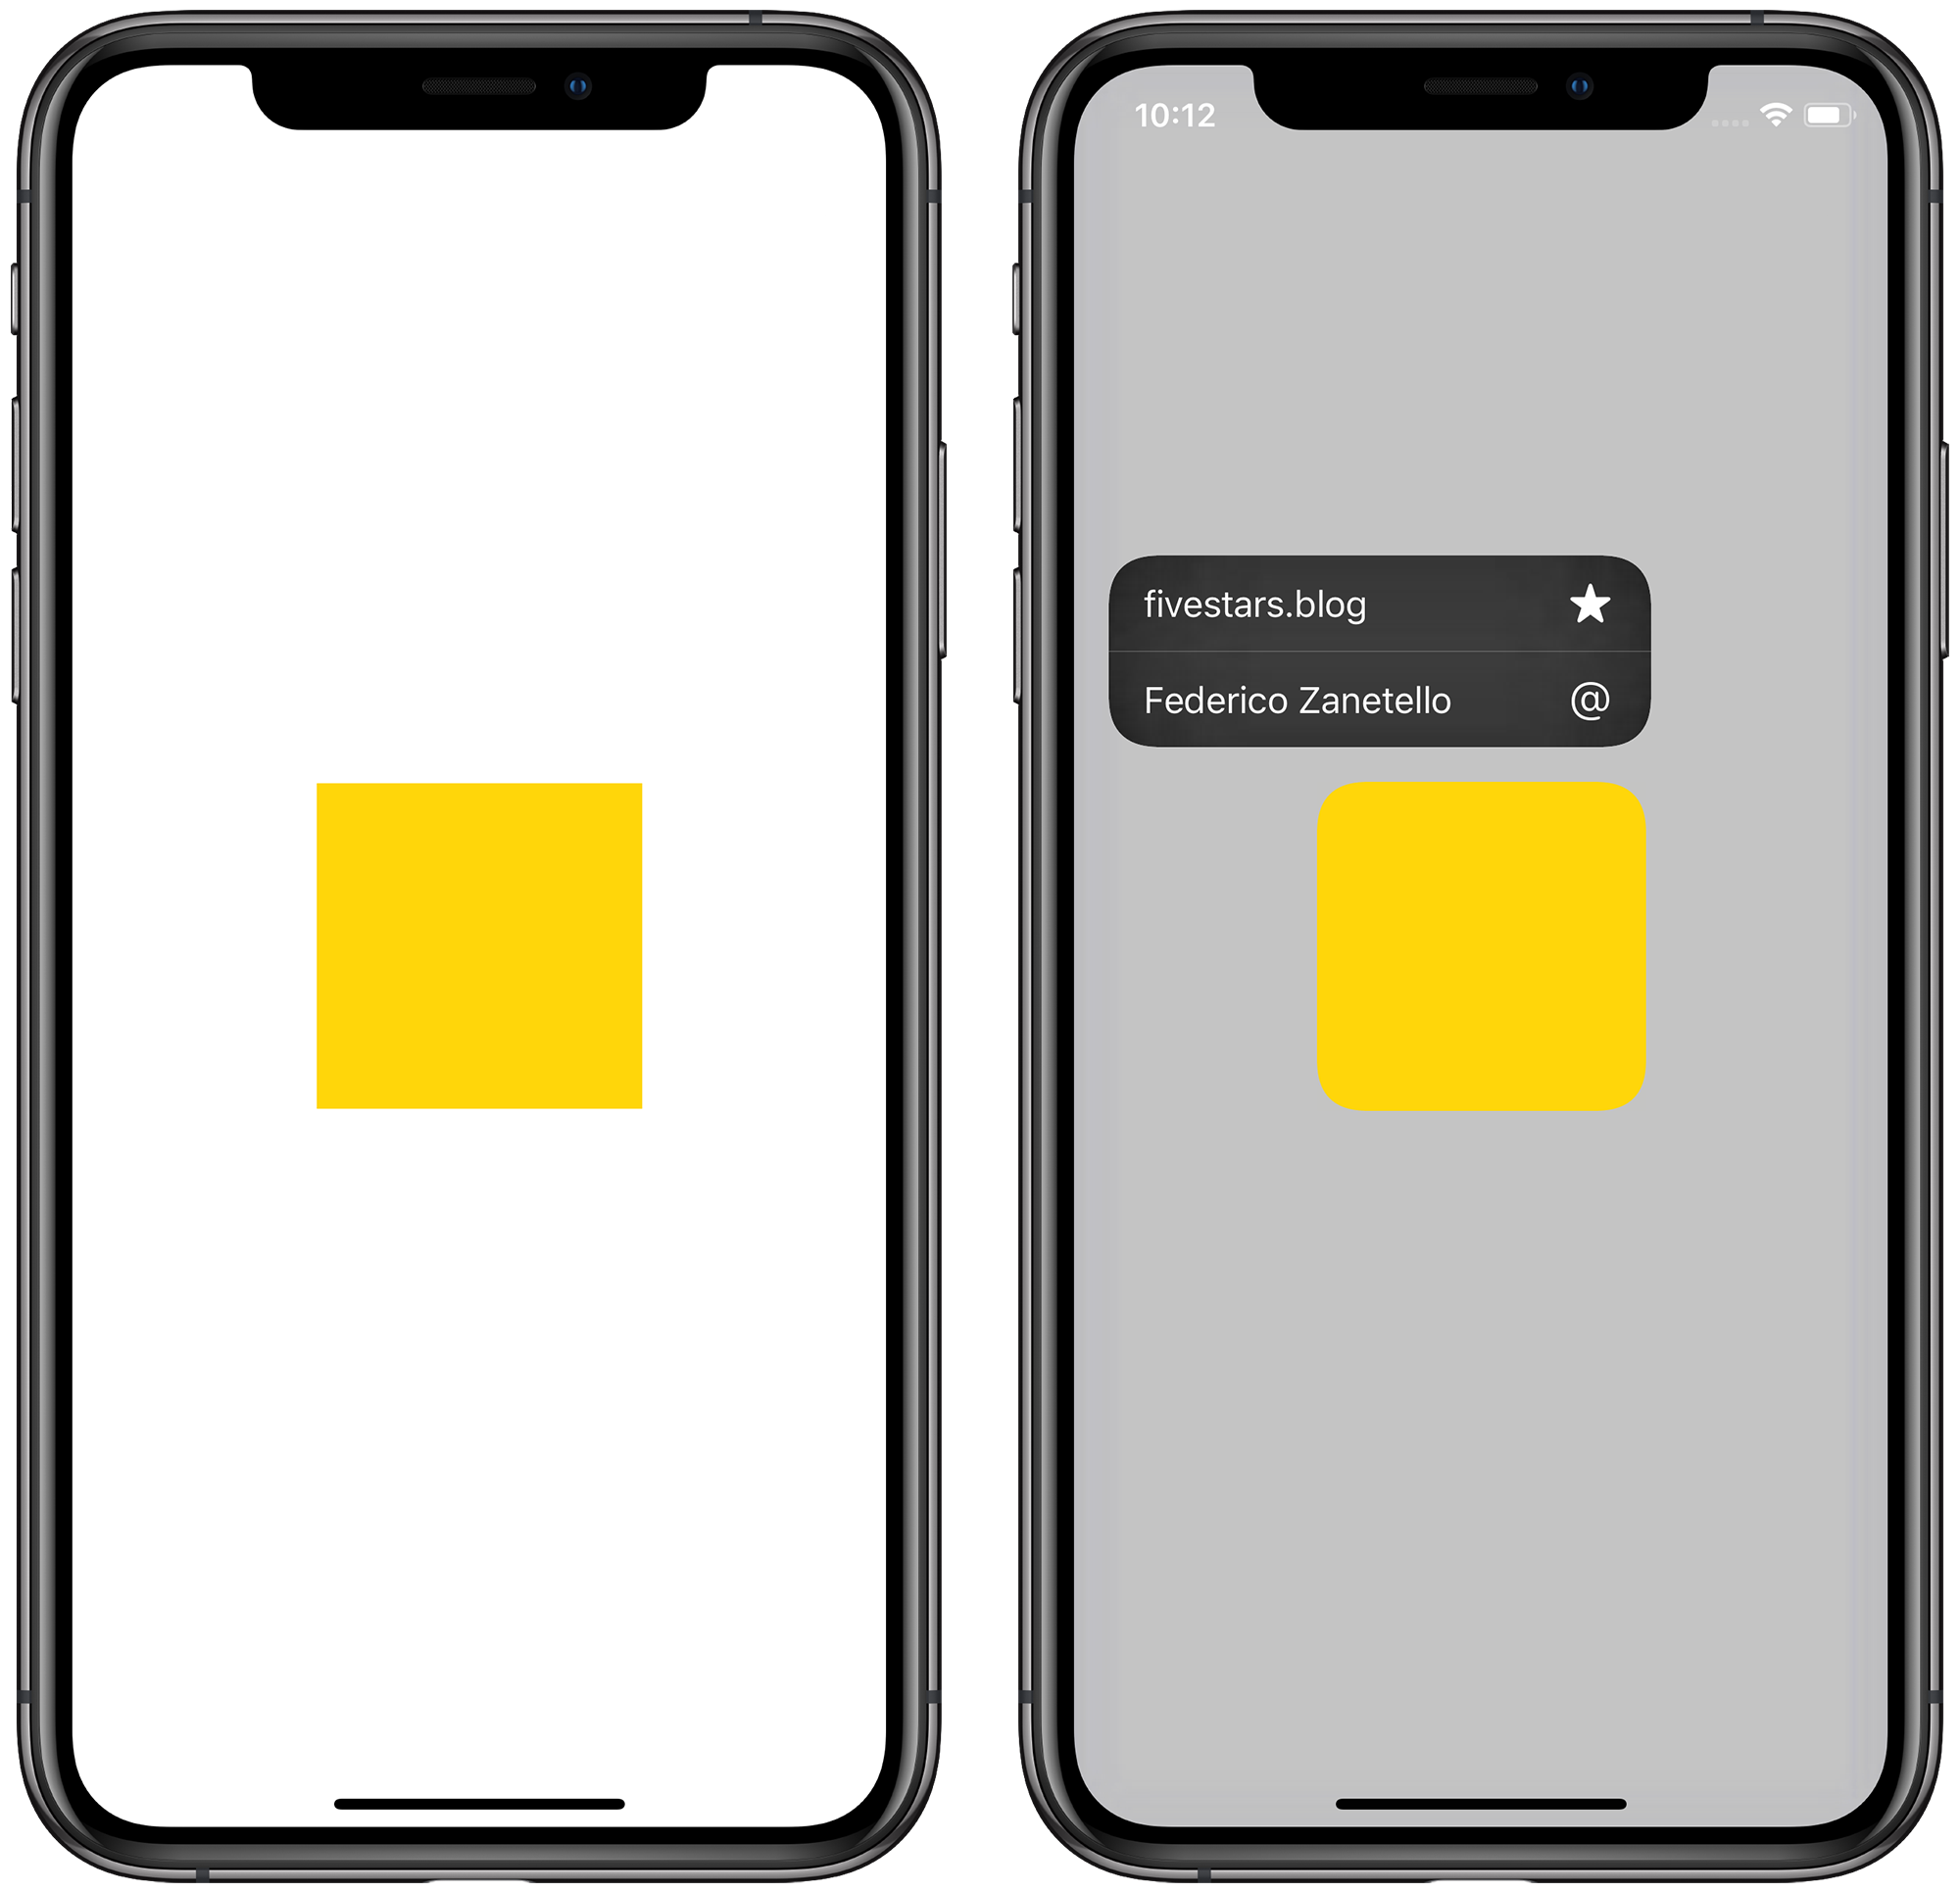
The new menus, in both light and dark mode.
What’s super cool about Context Menus is that they’re available on all iOS 13 and iPadOS devices, regardless of the 3D Touch capability.
Another key difference with Peek & Pop is in the action menu: the menu is now displayed immediately, we don't have to swipe up anymore (as we had to previously).
How It Works
Context Menus can be triggered in two ways: via long press and, if the device supports 3D Touch, also via force touch.
Note that I’ve said and, not or:
If a device supports 3D Touch, then it can quickly trigger the Context Menu via force touch, however, the long press option is still available 👍🏻
One of the main reasons why Peek and Pop didn’t make a huge splash was discoverability.3D Touch features are available exclusively on selected iPhones, Context Menus are everywhere, including iPads.While this doesn’t make the feature more discoverable by itself, more and more people will "stumble" upon it and the start using it throughout the system: they’ll expect your app to support it, too!
How It Really Works: UIContextMenuInteraction
As for Peek and Pop, this new interaction comes with, well, a new interaction: please welcome UIContextMenuInteraction.
UIContextMenuInteraction is very similar to the old (Peek and Pop’s) UIPreviewInteraction:
all it needs is a UIContextMenuInteractionDelegate and a view.
class MyViewController: UIViewController,
                        UIContextMenuInteractionDelegate {
  override func viewDidLoad() {
    super.viewDidLoad()

    // 👇🏻 no need to retain this like we had to with Peek and Pop’s UIPreviewInteraction! 🤩
    let interaction = UIContextMenuInteraction(delegate: self)
    view.addInteraction(interaction)
  }
}
How the menu is triggered (via force touch, long press, or else), is completely abstracted away:
all we get, via the delegate, are interaction events. Let’s take a look at them.
UIContextMenuInteractionDelegate
Similar to the old UIPreviewInteractionDelegate for Peek and Pop, UIContextMenuInteractionDelegate comes with both optional and required methods:
@available(iOS 13.0, *)
public protocol UIContextMenuInteractionDelegate : NSObjectProtocol {

  func contextMenuInteraction(_ interaction: UIContextMenuInteraction, configurationForMenuAtLocation location: CGPoint) -> UIContextMenuConfiguration?

  optional func contextMenuInteraction(_ interaction: UIContextMenuInteraction, previewForHighlightingMenuWith configuration: UIContextMenuConfiguration) -> UITargetedPreview?

  optional func contextMenuInteraction(_ interaction: UIContextMenuInteraction, previewForDismissingMenuWith configuration: UIContextMenuConfiguration) -> UITargetedPreview?

  optional func contextMenuInteraction(_ interaction: UIContextMenuInteraction, willCommitWithAnimator animator: UIContextMenuInteractionCommitAnimating)

  optional func contextMenuInteractionWillPresent(_ interaction: UIContextMenuInteraction)

  optional func contextMenuInteractionDidEnd(_ interaction: UIContextMenuInteraction)
}
- configurationForMenuAtLocation
This is the only required method:
this is also the first method that is called when a new Context Menu Interactions starts.
As the name says, the method is asking us to provide a Context Menu for the given view (you can access to the view directly from the passed interaction).
Returning nil is equivalent to tell the user that, at this time, there’s no menu to display for that view. Doing so will stop the interaction immediately (no more delegate methods will be called).
Returning a Context Menu Configuration (please refer to this great article by fellow developer Kyle Bashour on how), will let the system know that we have a menu to display, and the interaction can continue.
- previewForHighlightingMenuWith
This is the first optional method:
once we’ve returned a menu, the system gives us a chance to choose which view to focus on.
This view will be put on focus (along with the context menu), while everything else on the screen will be blurred out (like in the screenshots at the beginning of this article).
By default (without implementing this method, or when returning nil), the focused view will be the one where the UIContextMenuInteraction has been triggered to.
I n case you’d like to have a completely new view displayed instead, Kyle shows how to do so in the “Providing a custom preview“ chapter of his article.
- contextMenuInteractionWillPresent This is the second optional method: it’s here to let us know that the menu is about to be presented.
We can use this method call as we please: for example, we might want to track a context menu “state” or similar. It’s entirely up to you. There’s a high chance that you don't need this method, but it’s nice to have it in case you do.
Once we arrive here, the menu is displayed.
- previewForDismissingMenuWith
This is the third optional method:
it is called when the Context Menu is being dismissed.
Exactly like for previewForHighlightingMenuWith, this method is asking us to provide which view the menu is going to dismiss into.
- willCommitWithAnimator
This is the fourth optional method:
UIKit calls this method when the user taps in the focused view.
Consider this as an equivalent to the Pop interaction in Peek and Pop.
In this method we’re passed an animator of type UIContextMenuInteractionCommitAnimating, which we can use to inject any custom animations that we want to run alongside the context menu dismissal animations.
Note that this method is called before previewForDismissingMenuWith.
- contextMenuInteractionDidEnd This is last optional method:
it lets us know when a Context Menu interaction has ended, dual to contextMenuInteractionWillPresent.
Again, UIKit doesn't expect us to do anything at this point, it’s entirely up to us to give meaning to this call.
UIContextMenuInteraction Playground
While it’s very nice to have all of the above documented, we all know the saying “a playground is worth a thousand words”:
The Playground.
In this playground you'll find a view controller with one subview offering the new Context Menu interaction:
the view controller adopts all the methods described above and logs each one of them when called.
You can run it in order to get familiar with all the possible flows, for example:
- trigger the context menu and tap on a menu action
- trigger the context menu and tap on the focused view
- trigger the context menu and tap on the background
Your app is expected to behave differently in each of these scenarios.
import UIKit
import PlaygroundSupport

final class MyViewController: UIViewController,
                               UIContextMenuInteractionDelegate {
  override func loadView() {
    let view = UIView()
    view.backgroundColor = .white

    let interactionView = UIView()
    interactionView.backgroundColor = .systemYellow
    interactionView.translatesAutoresizingMaskIntoConstraints = false

    let interaction = UIContextMenuInteraction(delegate: self)
    interactionView.addInteraction(interaction)
    print("interaction added")

    view.addSubview(interactionView)

    NSLayoutConstraint.activate([
      interactionView.centerXAnchor.constraint(equalTo: view.centerXAnchor),
      interactionView.centerYAnchor.constraint(equalTo: view.centerYAnchor),
      interactionView.heightAnchor.constraint(equalTo: interactionView.widthAnchor),
      interactionView.heightAnchor.constraint(equalToConstant: 150)
      ])

    self.view = view
  }

  // MARK: UIContextMenuInteractionDelegate

  func contextMenuInteraction(
    _ interaction: UIContextMenuInteraction,
    configurationForMenuAtLocation location: CGPoint) -> UIContextMenuConfiguration? {
    print("configurationForMenuAtLocation")

    return UIContextMenuConfiguration(identifier: nil,
                                      previewProvider: nil,
                                      actionProvider: { [weak self] _ in
      return self?.makeContextMenu()
    })
  }

  private func makeContextMenu() -> UIMenu {
    let blog = UIAction(__title: "fivestars.blog",
                         image: UIImage(systemName: "star.fill")) { _ in
                          print("https://fivestars.blog")
    }

    let twitter = UIAction(__title: "Federico Zanetello",
                           image: UIImage(systemName: "at")) { _ in
                            print("https://twitter.com/zntfdr")
    }

    return UIMenu(__title: "",
                  image: nil,
                  identifier: nil,
                  children: [blog, twitter])
  }

  func contextMenuInteraction(
    _ interaction: UIContextMenuInteraction,
    previewForHighlightingMenuWith configuration: UIContextMenuConfiguration)
    -> UITargetedPreview? {
    print("previewForHighlightingMenuWith")
    return nil
  }

  func contextMenuInteraction(
    _ interaction: UIContextMenuInteraction,
    previewForDismissingMenuWith configuration: UIContextMenuConfiguration)
    -> UITargetedPreview? {
    print("previewForDismissingMenuWith")
    return nil
  }

  func contextMenuInteraction(
    _ interaction: UIContextMenuInteraction,
    willCommitWithAnimator animator: UIContextMenuInteractionCommitAnimating) {
    print("willCommitWithAnimator")
  }

  func contextMenuInteractionWillPresent(
    _ interaction: UIContextMenuInteraction) {
    print("willPresent")
  }

  func contextMenuInteractionDidEnd(
    _ interaction: UIContextMenuInteraction) {
    print("didEnd")
  }
}

PlaygroundPage.current.liveView = MyViewController()
PlaygroundPage.current.needsIndefiniteExecution = true
Find the gist here.
UIContextMenuInteraction Custom Behavior
Now that we have a firm grasp on how Context Menus work, let me ask you: is it possible to use this new interaction for something entirely custom?
The answer is yes, and it’s very simple to do so.
As you might recall, the only required delegate method is configurationForMenuAtLocation, which is asking us to provide a menu for a given view.
What is important to pay attention to is the parameters passed in the method:
an interaction (UIContextMenuInteraction) and a location (CGPoint).
Thanks to the former we obtain the view where the interaction has been triggered from, meanwhile, with the latter, we get the exact interaction touch point on that view.
Once we have these two pieces of information, we can return nil to the method, which stops the context menu interaction, and then we can freely carry on with our own custom interaction instead.
Custom Interaction Playground
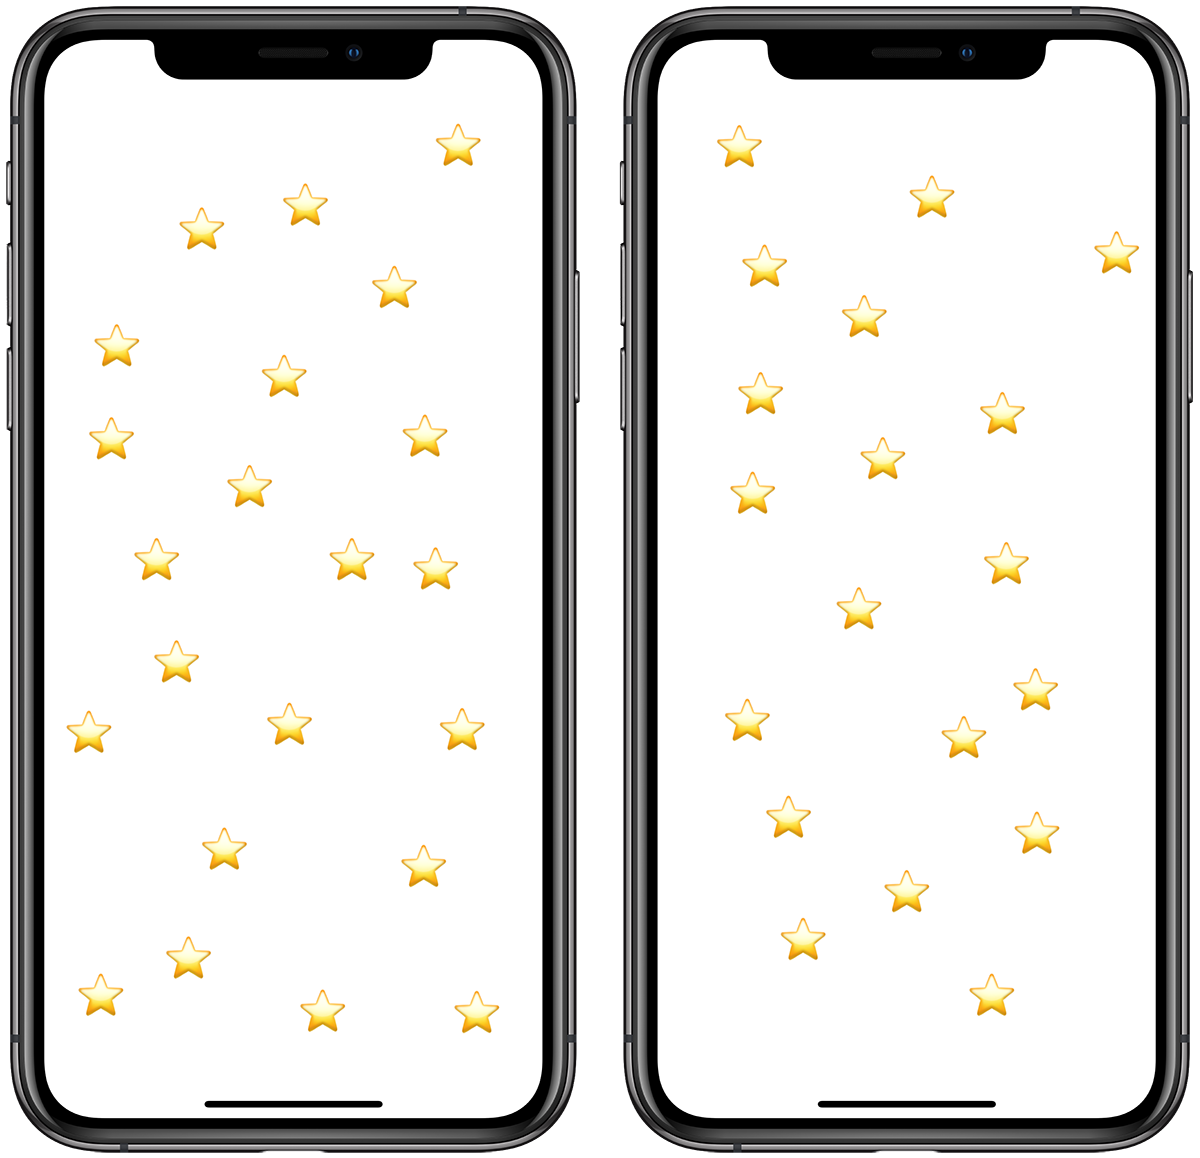
Stars, stars everywhere!
As an example of custom behavior, in this playground I use the new interaction to draw stars in the main view: long press or force touch anywhere and a star is drawn at that exact position.
The possibilities of what you can do with it are truly limitless.
import UIKit
import PlaygroundSupport

final class MyViewController: UIViewController,
                               UIContextMenuInteractionDelegate {
  override func loadView() {
    let view = UIView()
    view.backgroundColor = .white

    let contextMenuInteraction = UIContextMenuInteraction(delegate: self)
    view.addInteraction(contextMenuInteraction)

    self.view = view
  }

  // MARK: UIContextMenuInteractionDelegate

  func contextMenuInteraction(
    _ interaction: UIContextMenuInteraction,
    configurationForMenuAtLocation location: CGPoint) -> UIContextMenuConfiguration? {
    addLabel(text: "⭐️", at: location)
    return nil
  }

  private func addLabel(text: String,
                        at location: CGPoint) {
    let label = UILabel()
    label.text = text
    label.textAlignment = .center
    label.font = .preferredFont(forTextStyle: .largeTitle)
    label.frame.size = CGSize(width: 40, height: 25)

    view.addSubview(label)
    label.center = location
  }
}

PlaygroundPage.current.liveView = MyViewController()
PlaygroundPage.current.needsIndefiniteExecution = true
Find the gist here.
A real application example can be found in my metro apps:by customizing this interaction, users can quickly start a journey from wherever they are, known via GPS location, to the metro station they tap into with the new gesture.
This gesture enables users to skip several steps at once:
by adding something alike in your app, your users, too, can get exactly what they need from your app within seconds from the app launch! 🚀
Conclusions
UIContextMenuInteraction is a new, welcome take on Peek and Pop that will surely see more widespread adoption and use across many apps.
Even with the default behavior, this is a clear step in the right direction: I look forward to try it in your apps!
Lastly, if you're going to implement a custom interaction, please let me know on Twitter! I would love to see how you're using it 🤩
Thank you for reading and stay tuned for more articles!
PS
If this article feels strangely familiar, it's because it is:
this article is the 2019 edition of the great UIPreviewInteraction article by Hector Matos, back from 2016(!). Time flies.